
- Navigate to the admins profile page via the top right corner of the webpage, where the users username appears. Click the arrow and select “My Profile”.
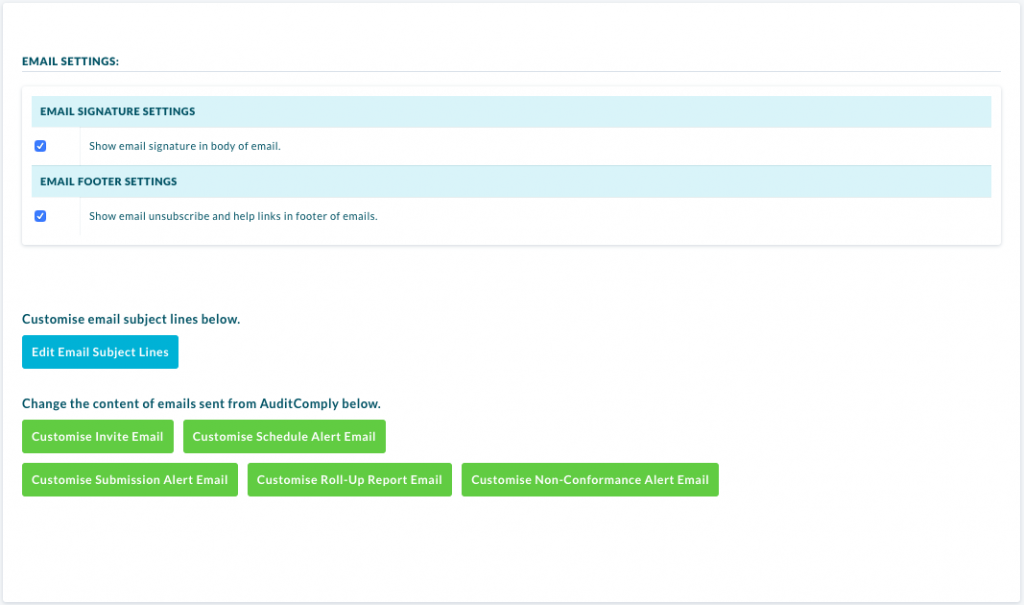
- On the profile page click “Emails” on the left menu bar.
- Click “Customise Schedule Alert Email” under “Change the content of emails sent from AuditComply below”.
This page contains the editable content for the email and to the right of this, a preview of how the email will look when it’s sent out. Update the content accordingly.
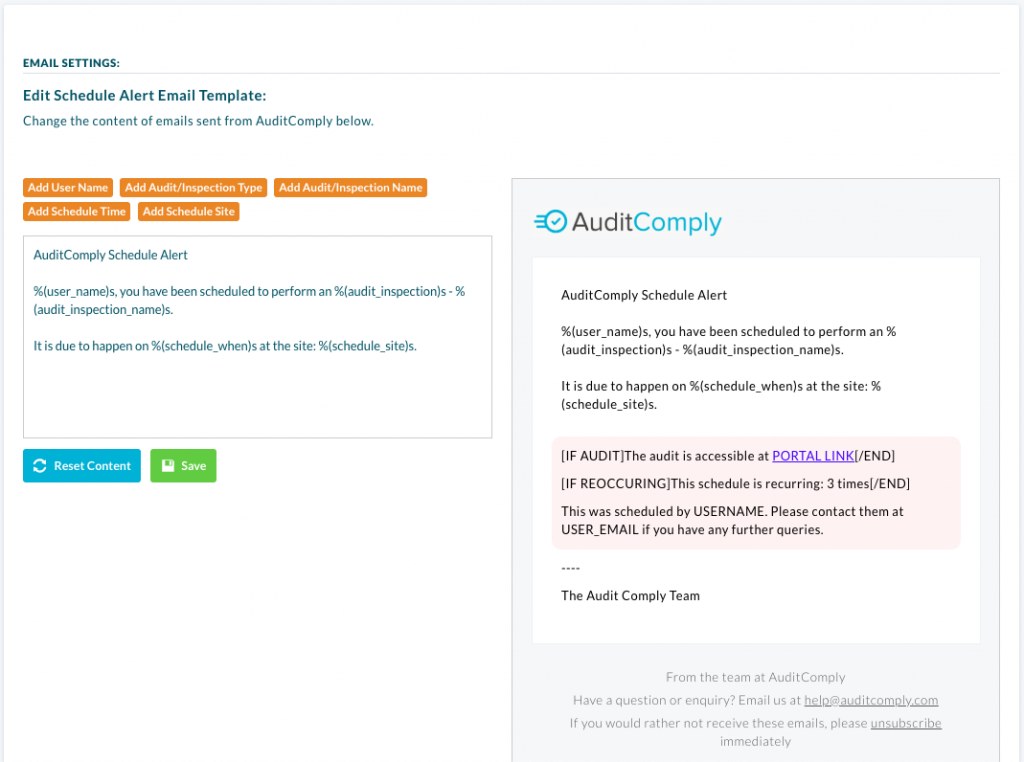
- Clicking the “Reset Content” button will put the email content back to it’s original default state.
- Clicking the “Add User Name” will add the name of the assessment to the email. This can be added multiple times.
- Clicking the “Add Audit/Inspection Name” will add the name of the user who performed the assessment. This can also be added multiple times.
- Clicking the “Add Audit/Inspection Type” will add the type of assessment performed. This can also be added multiple times.
- Clicking “Add Schedule Time” will add the time at which the assessment was scheduled for completion.
- Clicking “Add Schedule Site” will add the site name that the schedule was created against.
Click “Save” to store the new format.