
To enhance the flexibility of our new asset structure, AuditComply has introduced “Asset Profiles”.
This allows users to input custom information associated with a particular asset. For example, if an asset is associated with a Site or Department, users may add the address or phone number. However, if an asset is associated with manufacturing equipment, users may include the serial number, country of origin, certification or capacity. The information associated with an asset is completely customizable.
How to create an Asset Profile
- Navigate to Manage > Assets.
- Select Asset Profiles tab.
- Select Add Profile button.
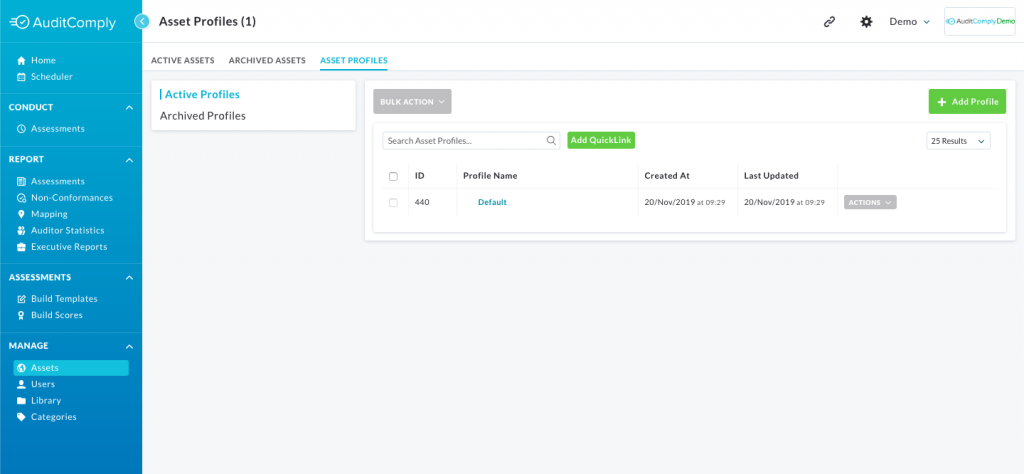
- Enter a profile name.
- This will take you to the profile creation page. To add a field, select “New Field”.
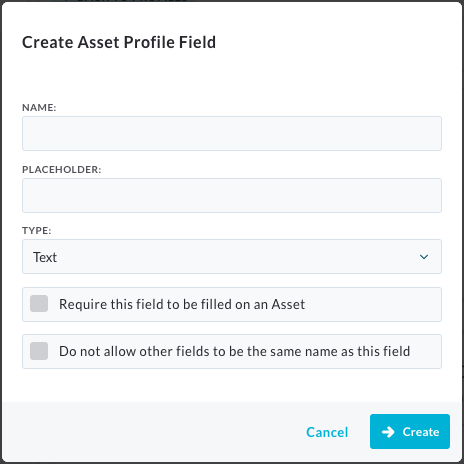
- Enter the name of the Field .
- Add a placeholder if desired (A placeholder is a piece of text in the textbox which gives instruction, e.g Enter the last 3 digits of the machine serial number).
- Select a type – Text, Number, Telephone, Address, Zip-Code, Postcode, Website URL, Email or None. “Types” add a layer of verification, restricting certain inputs.
- If you wish to make the field mandatory select the checkbox beside “Require this field to be filled on an Asset”.
- If you require a unique input, select the checkbox beside “Do not allow other fields to be the same as this field”
- Select Create
| PLEASE NOTE: You must create the Asset Profile before creating the Asset. There is no way to change the profile after the creation of an Asset. |
You can add as many fields as you wish to a Asset Profile.
How to apply the Asset Profile
- Navigate to Active Assets
- Create a New Asset
- Select the newly created Profile under Asset Profile
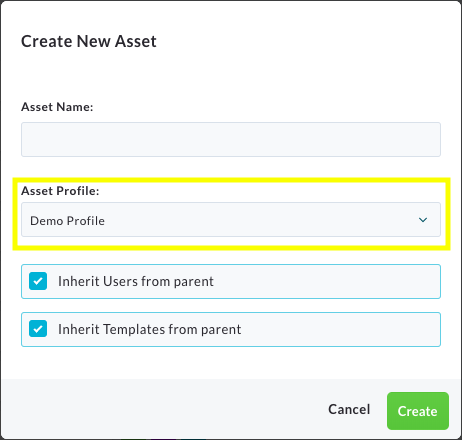
Your new asset will now have the customized fields.