Schedules
The Schedules tab, located in the menu for your selected asset, displays information about assessments that have been planned or set up against this asset.
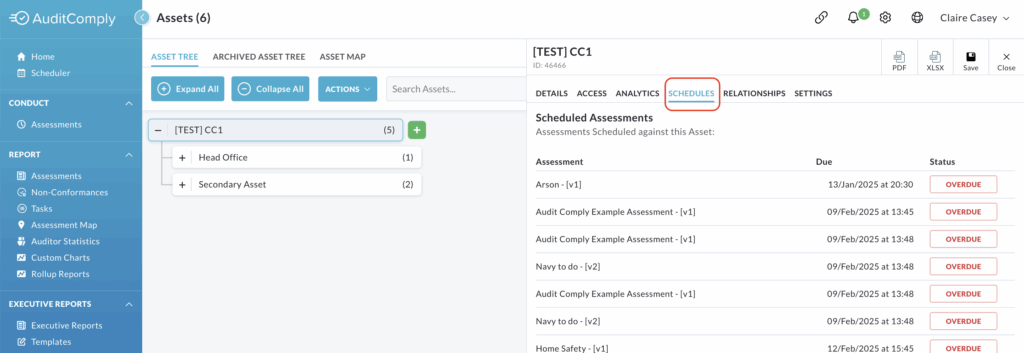
The majority of the data presented on this page is informational only. It provides details on the schedule name, the date the assessment is due and its current status.
To view more complete information or take action and interact with the scheduled assessments, click the blue button located below the table, labeled View Schedules for [Asset]
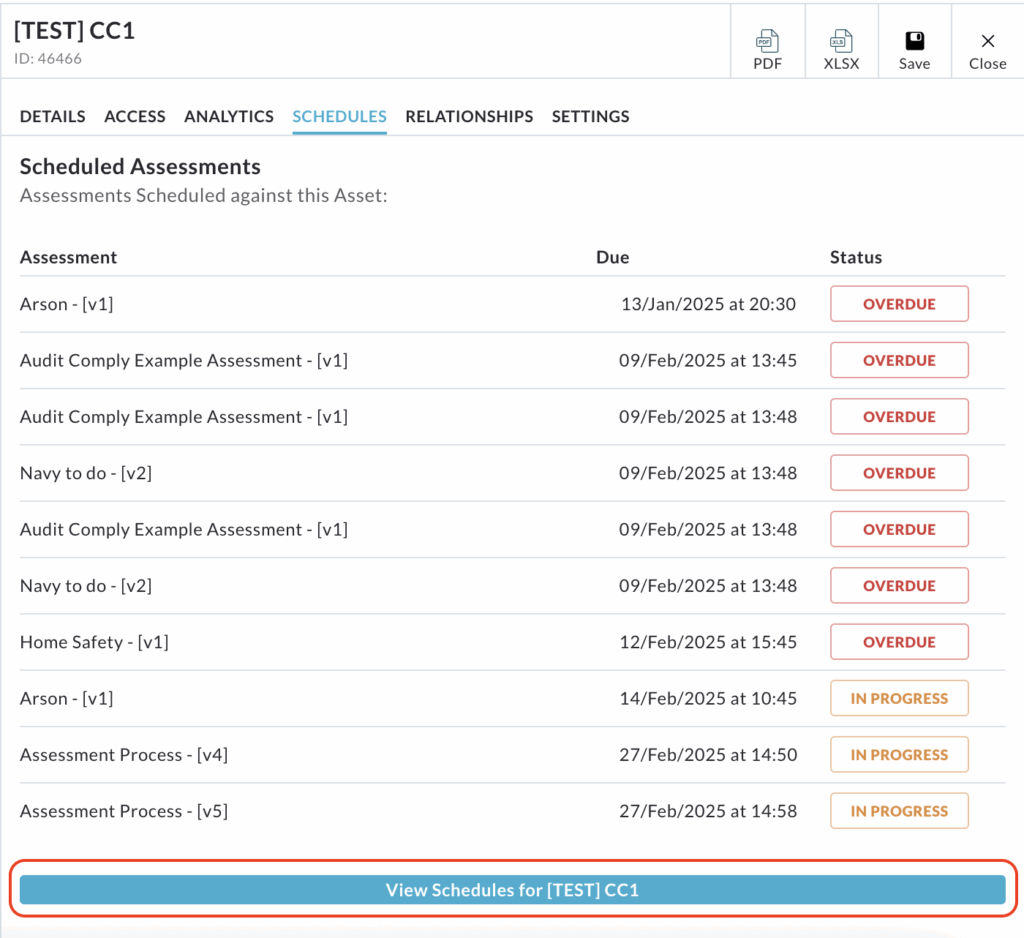
Clicking the button will direct you to the main Schedular page, which is filtered to display all scheduled assessments specifically for your asset.
Relationships
The Relationships tab is dedicated to creating and managing structured connections between the currently selected asset and other assets across your organisation.

Creating a Relationship
To establish a link between your selected asset and other, click the button labelled Select Assets to Create a Relationship.
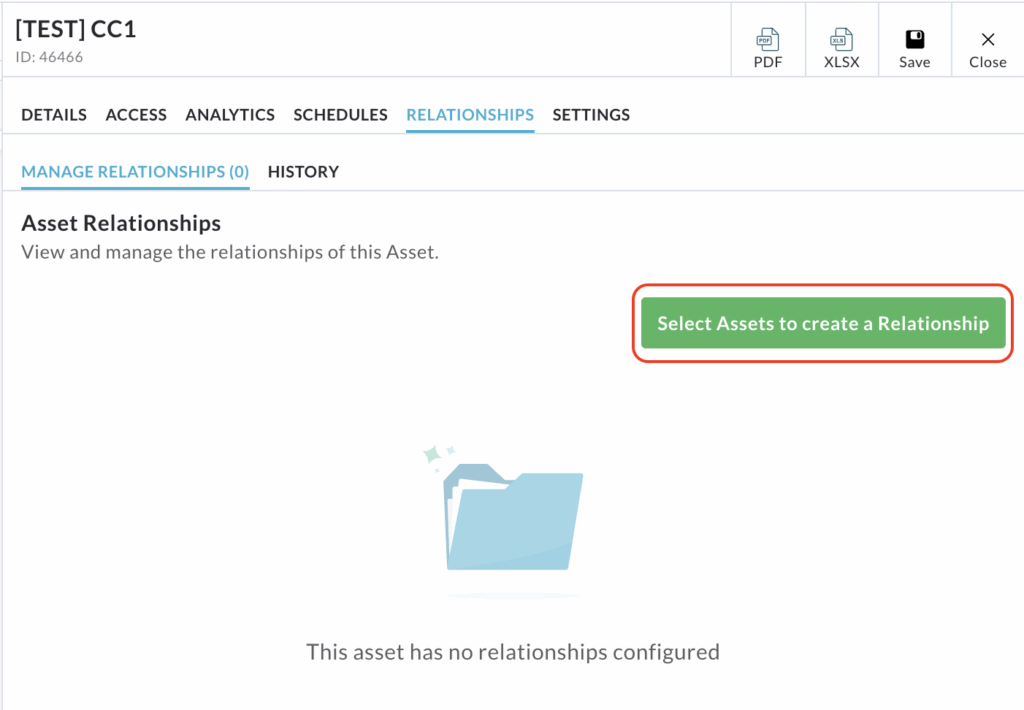
A pop up will appear displaying a list of available assets.
Use the + icon next to parent assets to expand and view/select child assets.

Select the asset you want to link with.
Click the centre arrow pointing to the right to move the selected asset(s) to the Selected Assets column.
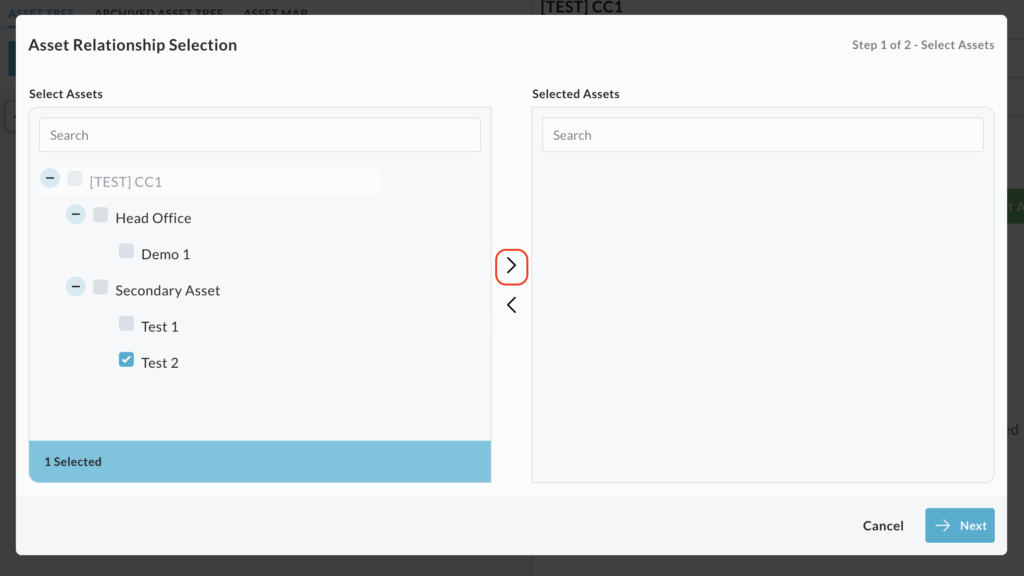
Click Next.
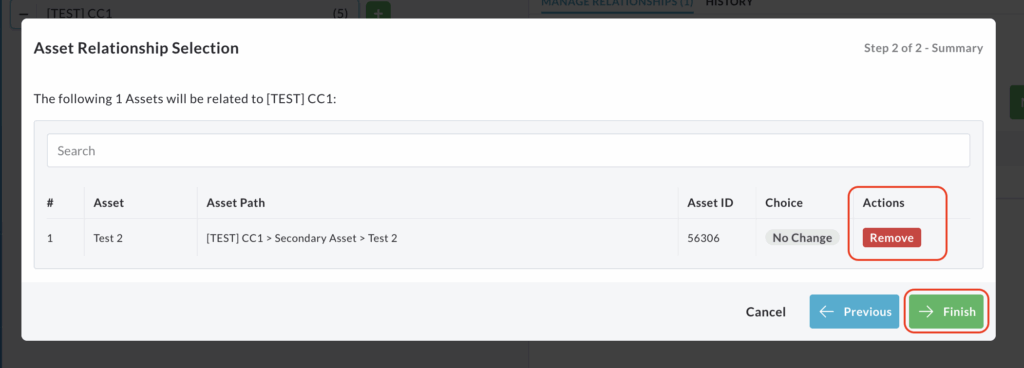
A summary of the assets chosen for the relationship will be displayed.
If you need to remove an asset you added by mistake, click the Remove button under the Actions column for that asset.

Once you have verified the asset relationships and are satisfied, click Finish.
A pop up will confirm that the asset relationship has been successfully created.
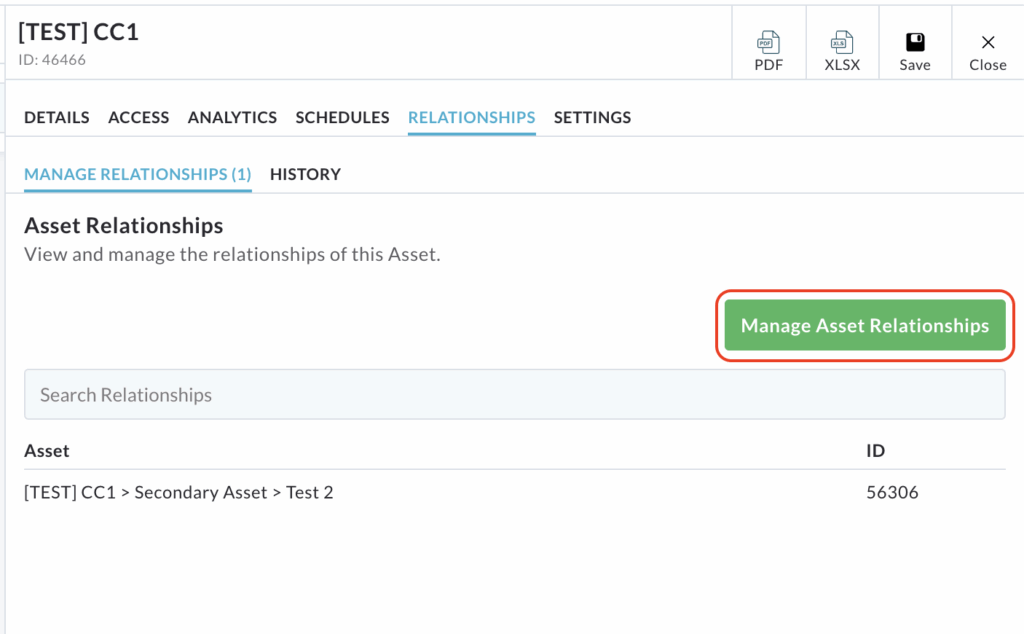
The new relationship will now be visible in a table on the main Relationship tab.
Manage Existing Relationships
This function allows you to review and modify existing relationships established for the current asset.
Click Manage Asset Relationships.
A pop up window will appear, displaying all the available assets in the first column and the assets currently selected for a relationship in the second column.
Use the + column next to parent assets to expand and view/select child assets.
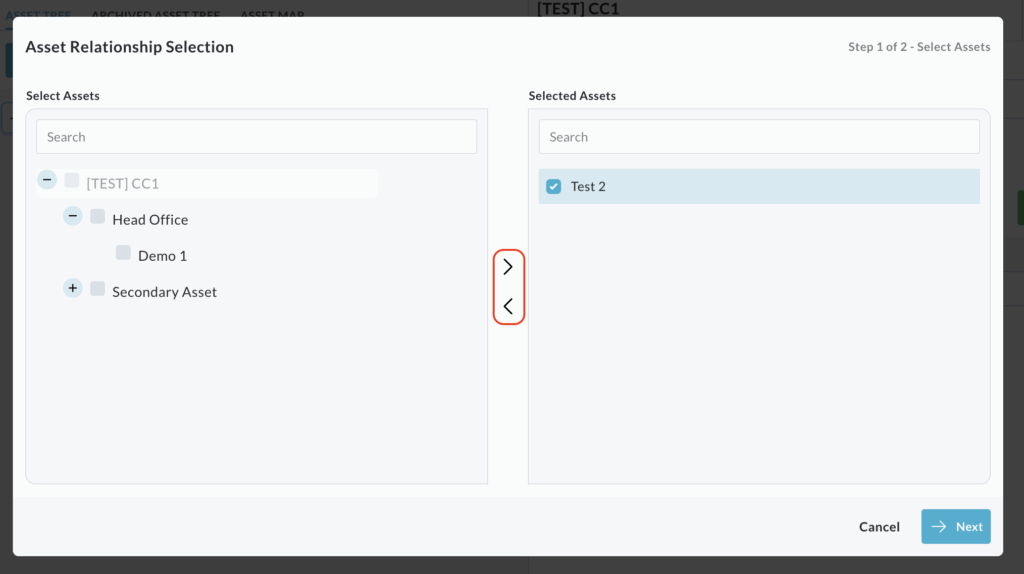
Select the assets whose relationship status you want to change (either adding a new relationship or ending an established one).
Use the centre arrows to move the selected assets between the columns to reflect the desired relationship status.
Click Next.
A review table will display all your intended changes.
If you mistakenly removed an established relationship, click Undo under the Actions column for that asset.
If you mistakenly added a new relationship, click Remove under the actions column.
Once you have reviewed and confirmed all changes, click Finish.
A pop up will confirm Relationships Updated.
Relationship History
The History subtab, located under the Relationships tab in the Asset Tree menu, provides a comprehensive audit trail of all relationship changes recorded for the current asset.

The main table displays key information about each recorded change, including the date the change to the asset’s relationship was recorded and the user who made the change.
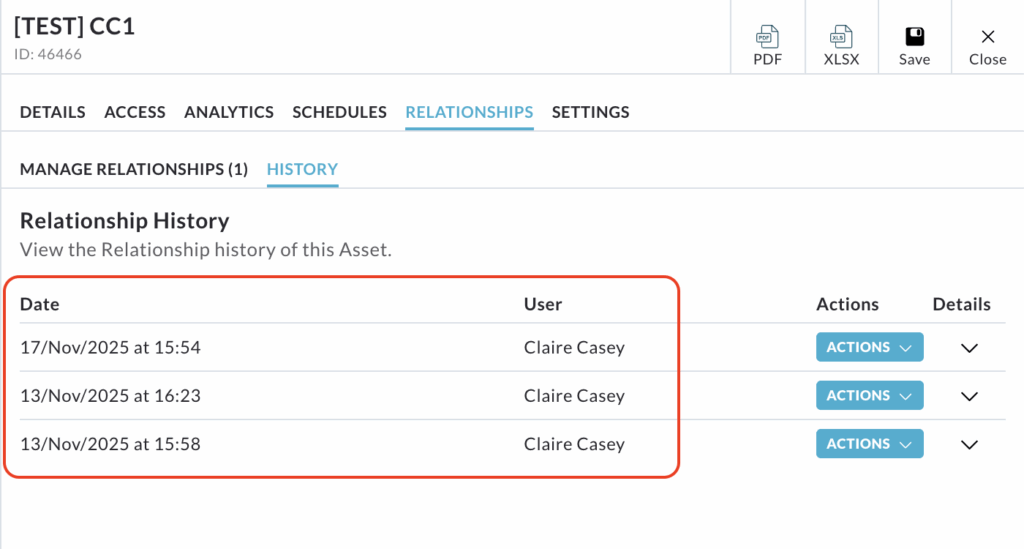
The date and user information is informational only can cannot be interacted with.
Actions
The Actions column allows you to export the specific details of a recorded relationship change.
Click the Actions button on a row to reveal a dropdown menu.
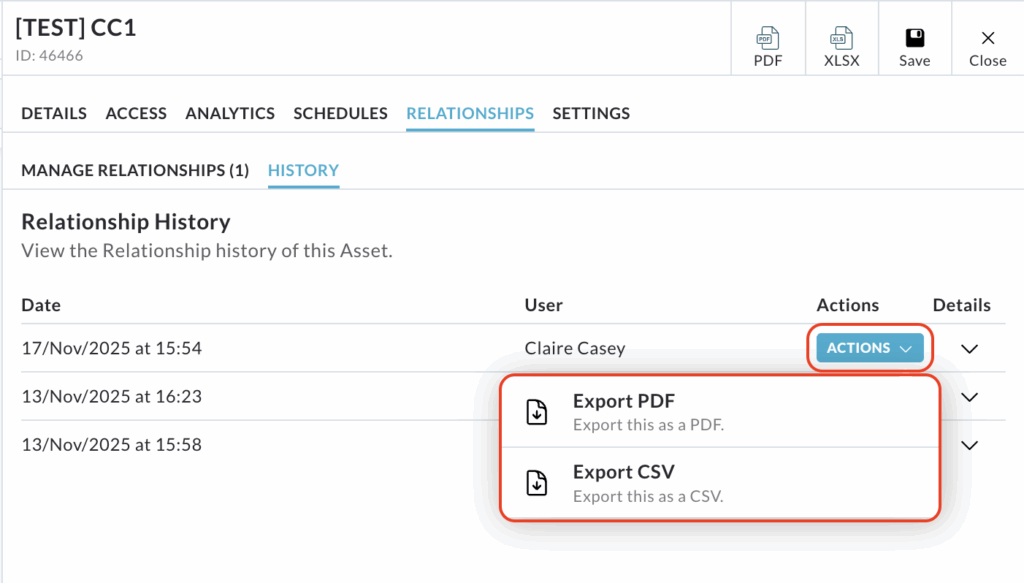
Selecting Export PDF opens a PDF version of the details in a new window, which you can then save, share or print.
Selecting Export CSV automatically downloads the relationship change information as a file on your computer.
Details
The Details column reveals the specific impact of the recorded change.
Click the arrow in the Details column for a specific row to expand the view.
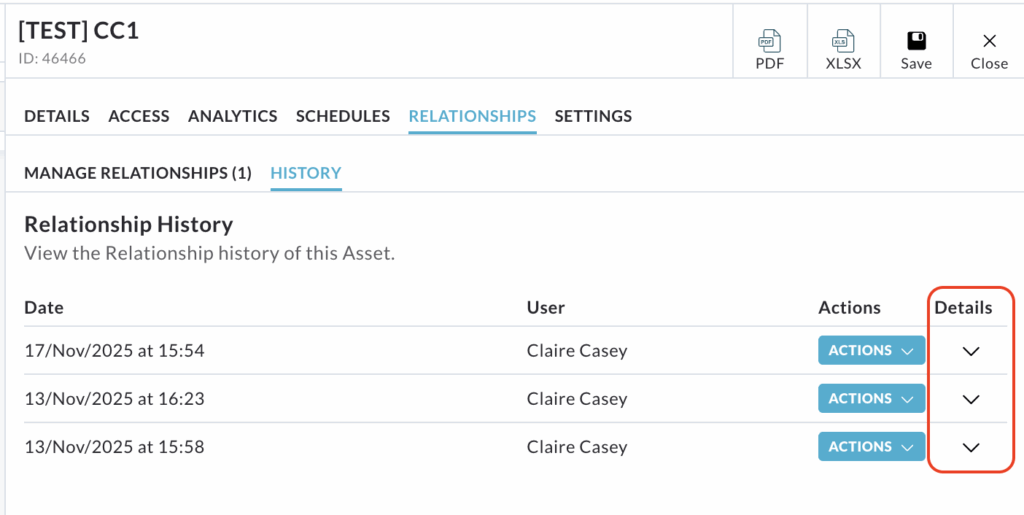
Additional data is shown in a table format, allowing you to view:
- Which assets were affected by the change
- The Asset ID of the affected assets
- The action that was taken e.g. new relationship added, existing relationship modified or existing relationship removed.
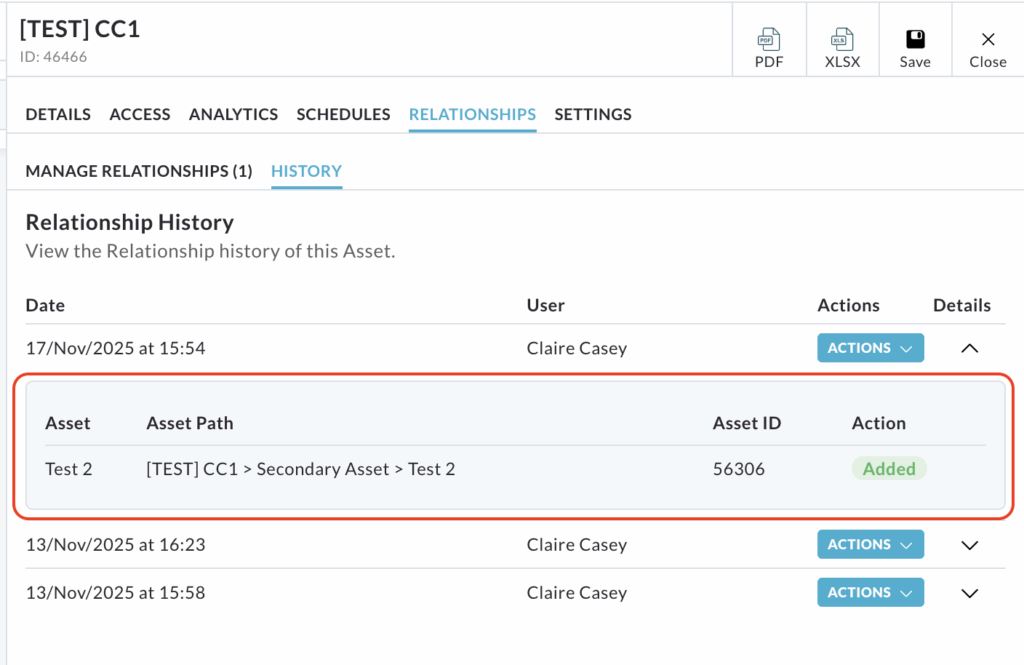
This detailed information is for viewing purposes only and cannot be directly interacted with or amended.