The Template Builder provides a suite of options on its left hand side, allowing for detailed customisation and enrichment of your new template.
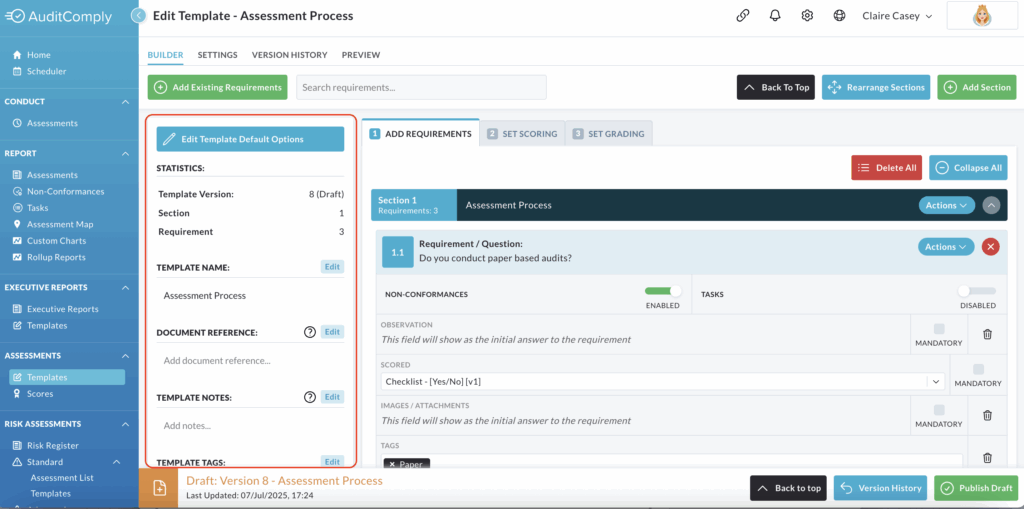
Edit Template Default Options
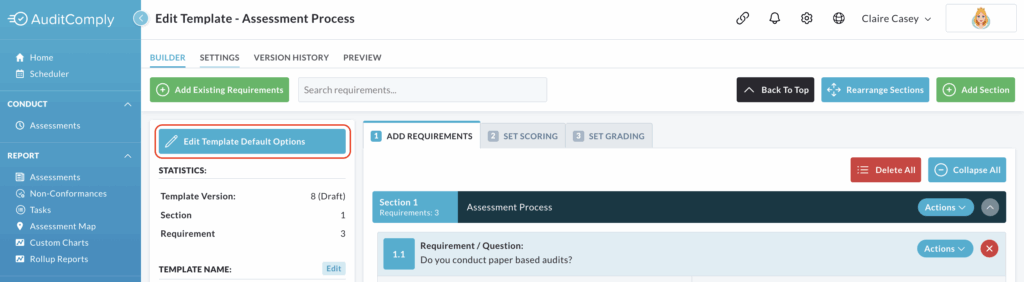
Selecting Edit Template Default Options will open a pop up within the window where you can configure the behaviours and requirements of your template.
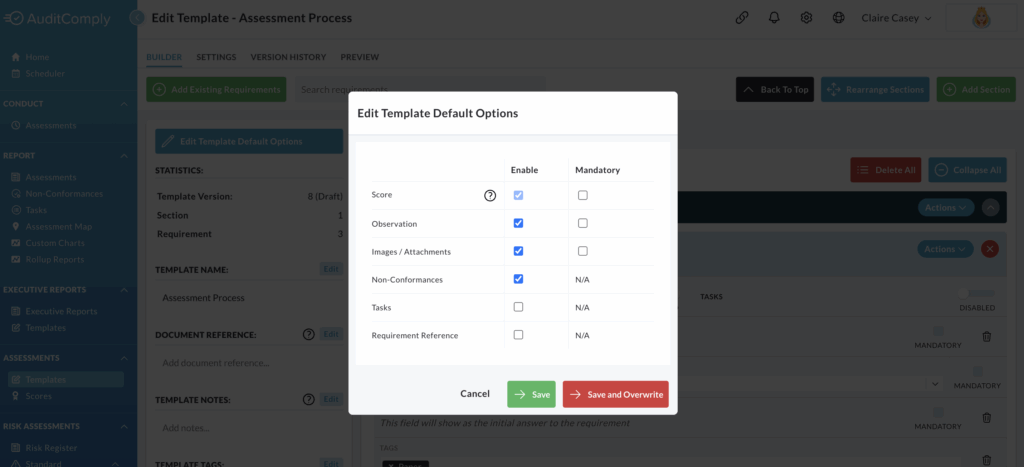
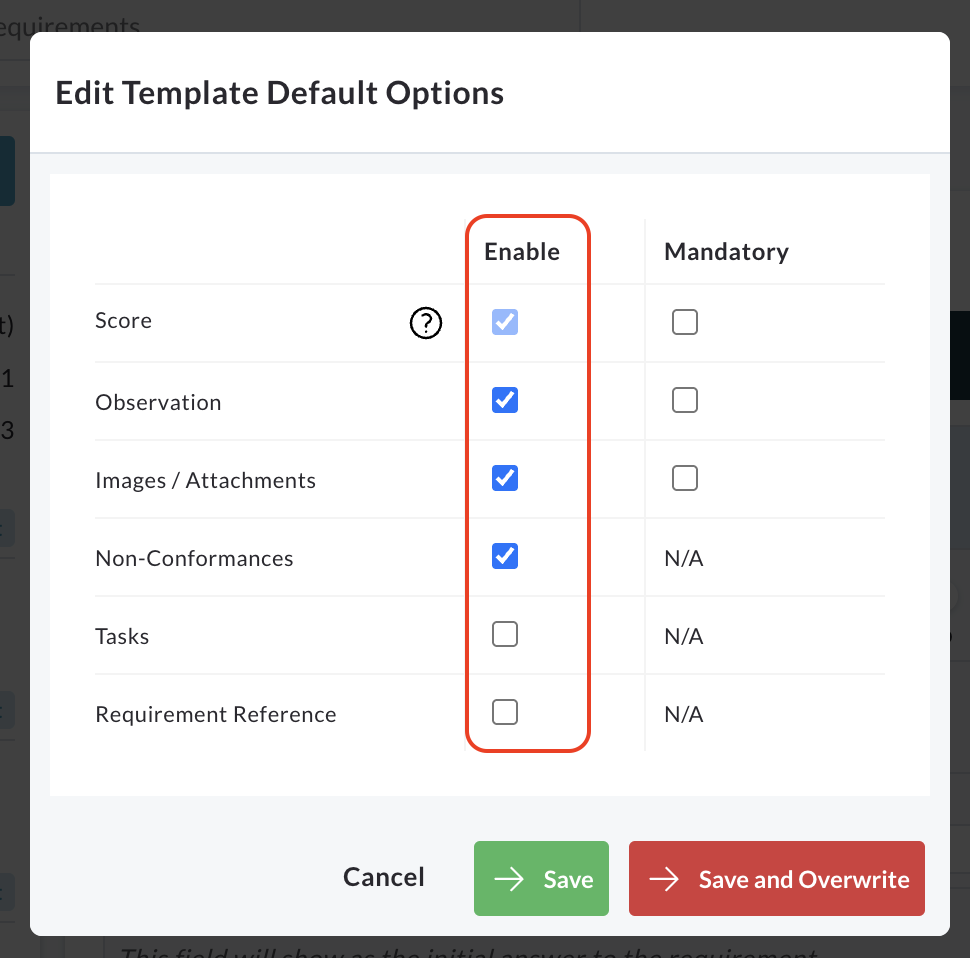
Enable/Disable Options: Within this pop up, you can enable or disable various aspects of the template by checking or unchecking the adjacent box. This controls whether a particular feature or field will be available when using the template.
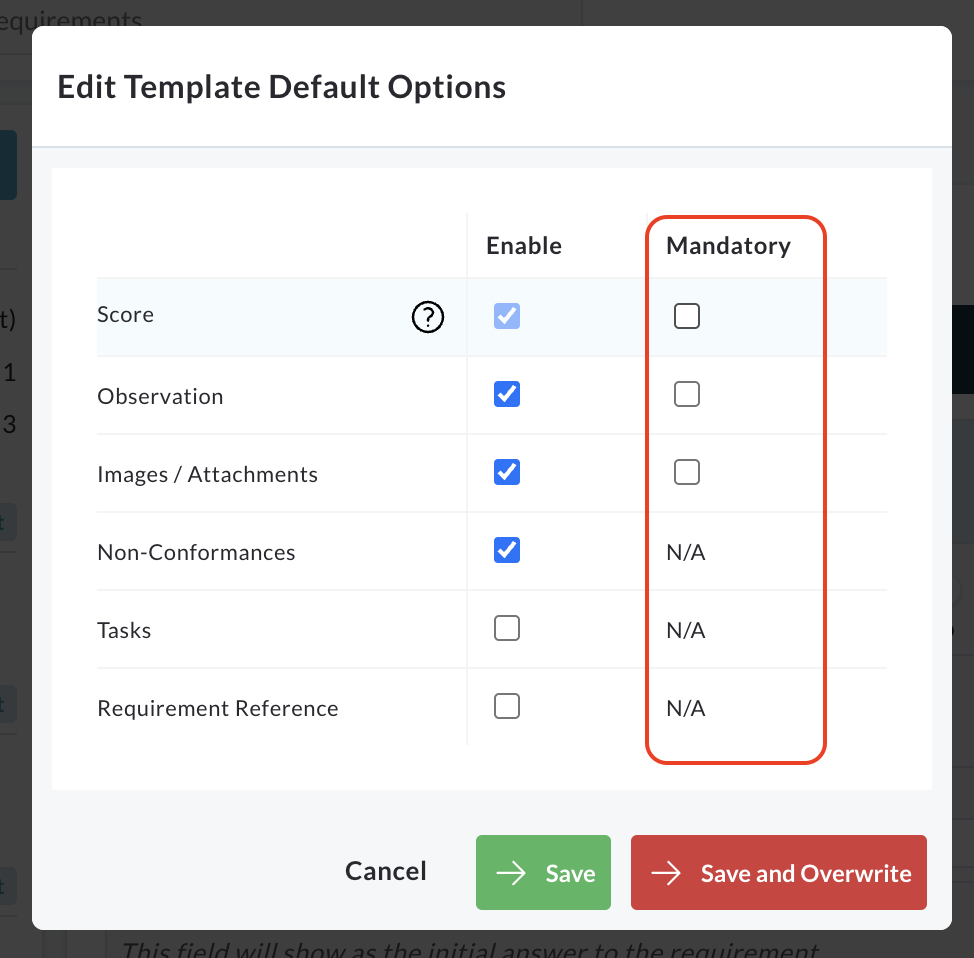
Mandatory Fields: You can enforce the completion of certain aspects by checking the relevant boxes located in the Mandatory column.
If marked as mandatory, users will be required to provide information for these fields when conducting an audit using this template.
Click Save to apply your changes to the template’s default options.
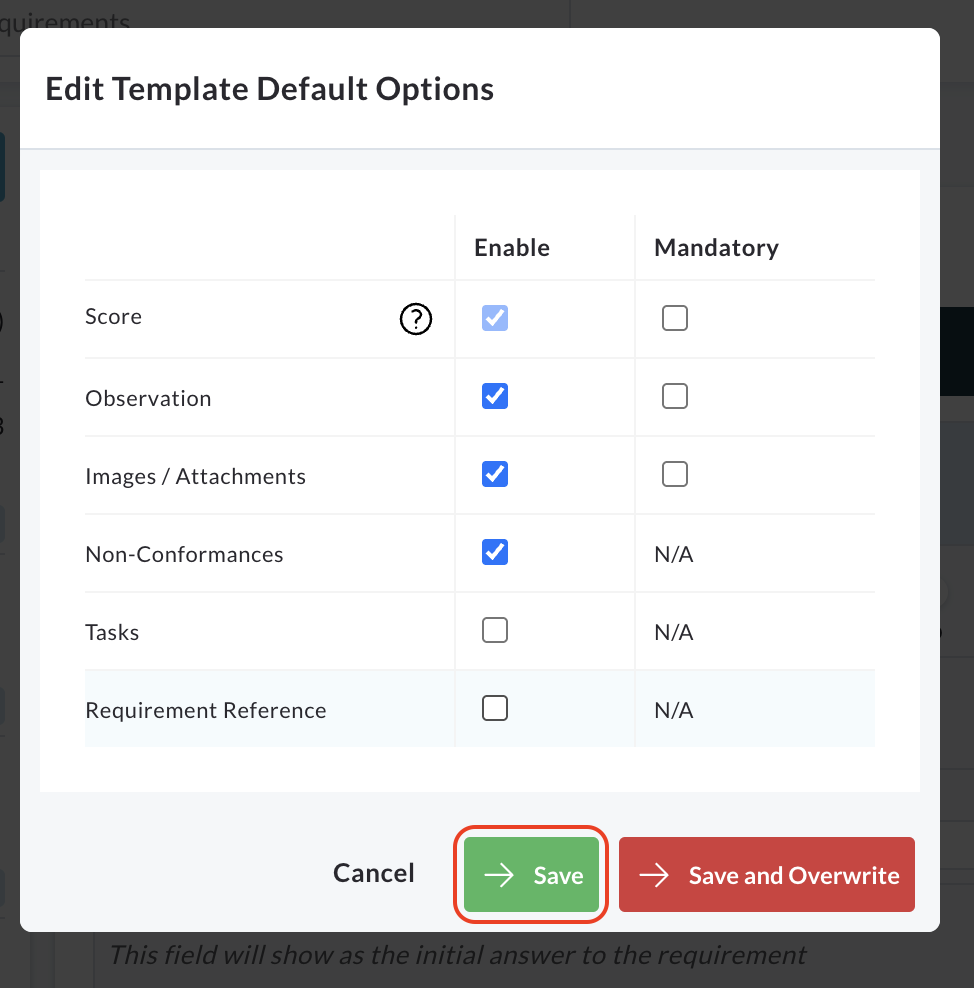
Clicking Save and Overwrite will trigger a warning box.
To confirm and apply the changes, overwriting previous settings, click Confirm Overwrite.
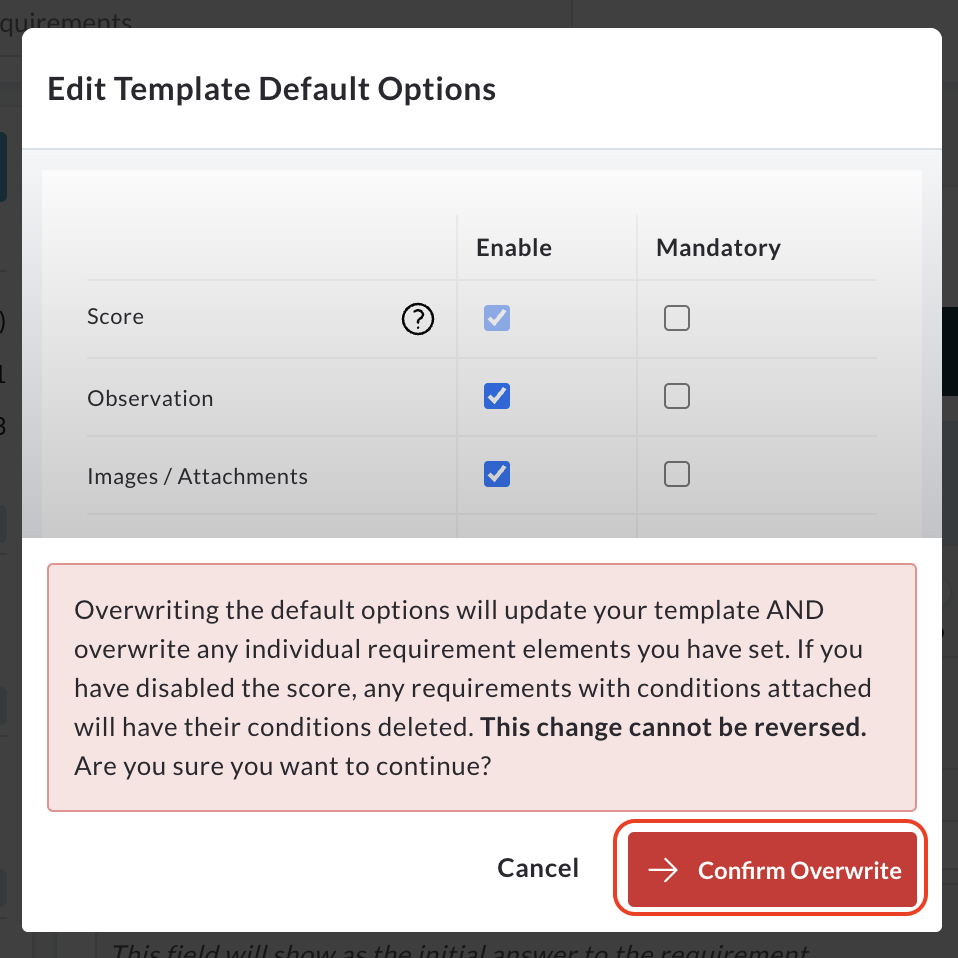
To cancel the overwrite and return to the original pop up window without saving, click Cancel.
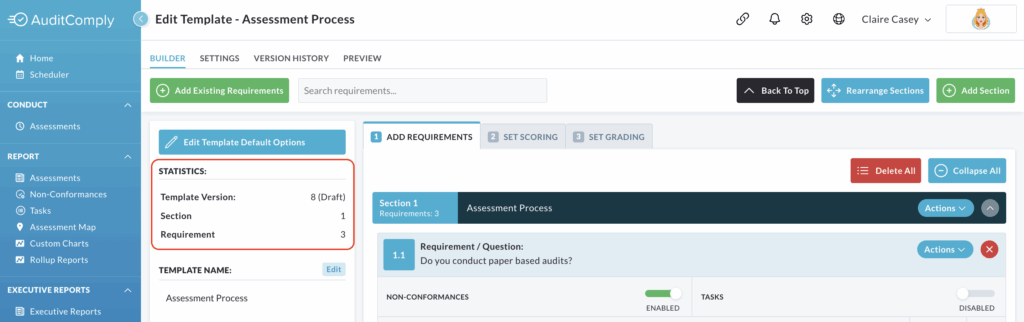
Statistics
This section is informational only and provides key metrics about the template you are currently working on.
It displays:
- The total number of versions of the template that have been created.
- The total number of sections within the template.
- The total number of requirements contained within the template.
Template Name
You can easily view and modify your template’s name here.
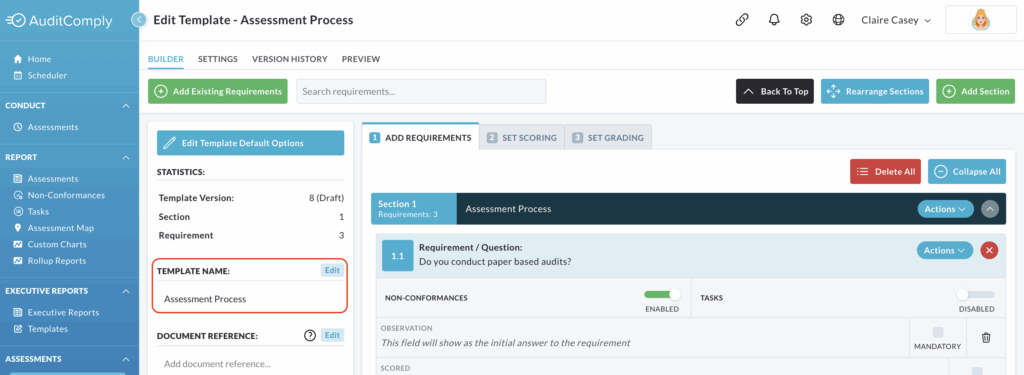
To change the name, click Edit.
The current name will transform into a text box, enabling you to type in a new name.
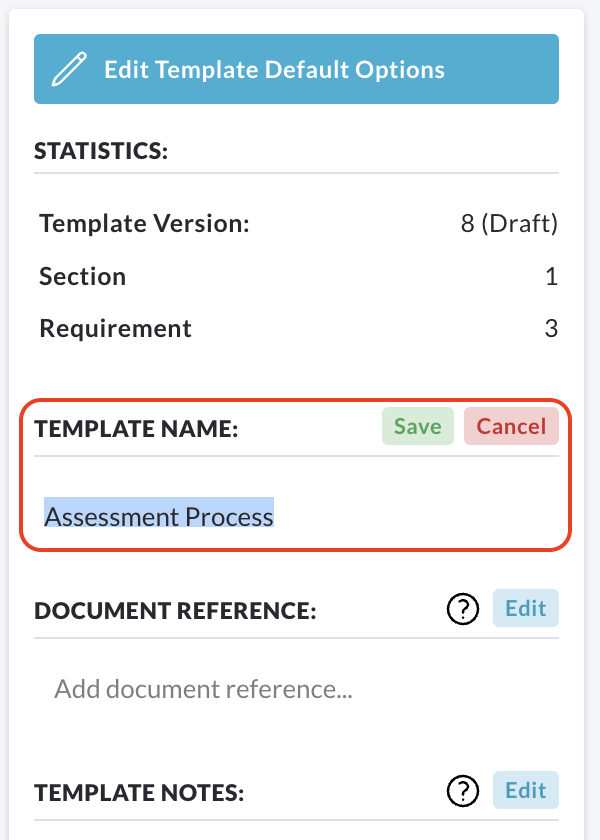
Click Save to apply your new template name, or Cancel to revert to the previous name.
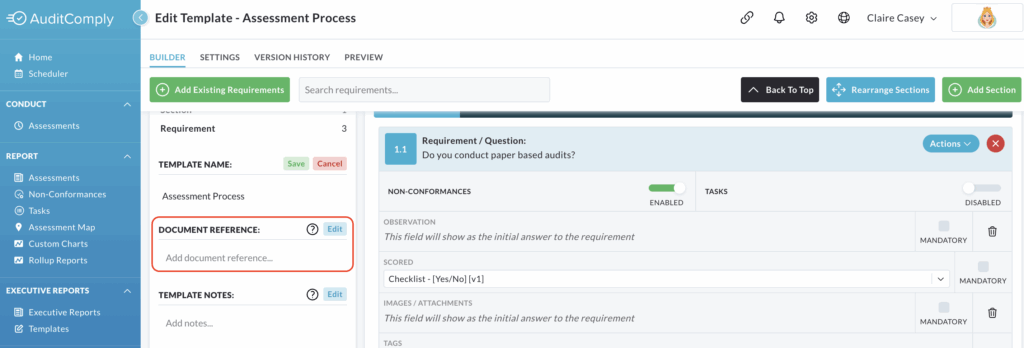
Document Reference
Use this area to include any document references that might help users when completing an audit with this template.
Click Edit to reveal a text box within this section.
You can then add your reference documentation here.
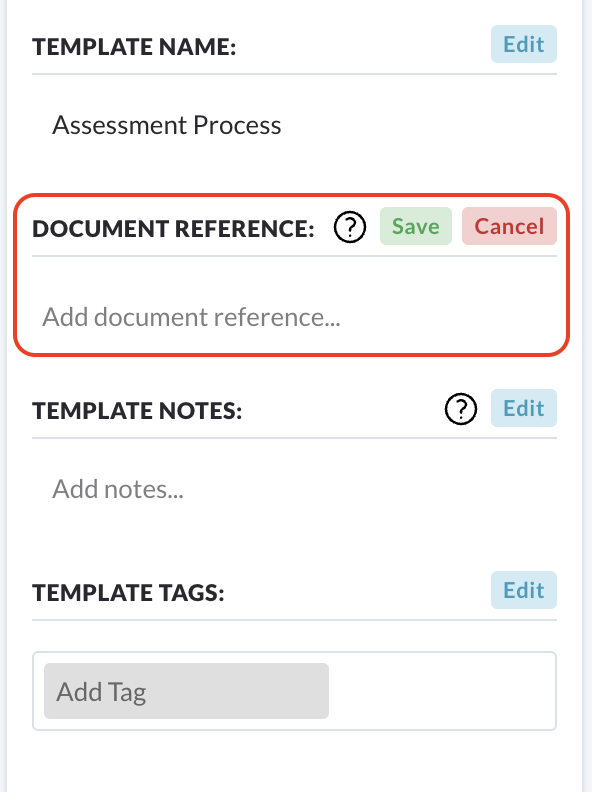
Once you’re done, click Save to apply the changes.
If you decide not to save your changes, click Cancel.
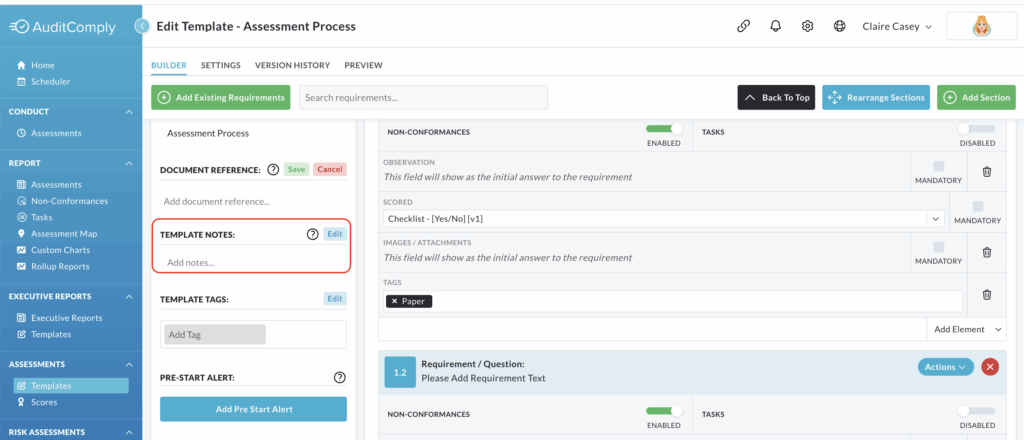
Template Notes
This section is for adding any extra notes that could assist users in completing an audit.
Click Edit to bring up a text box in this section where you can type your notes.
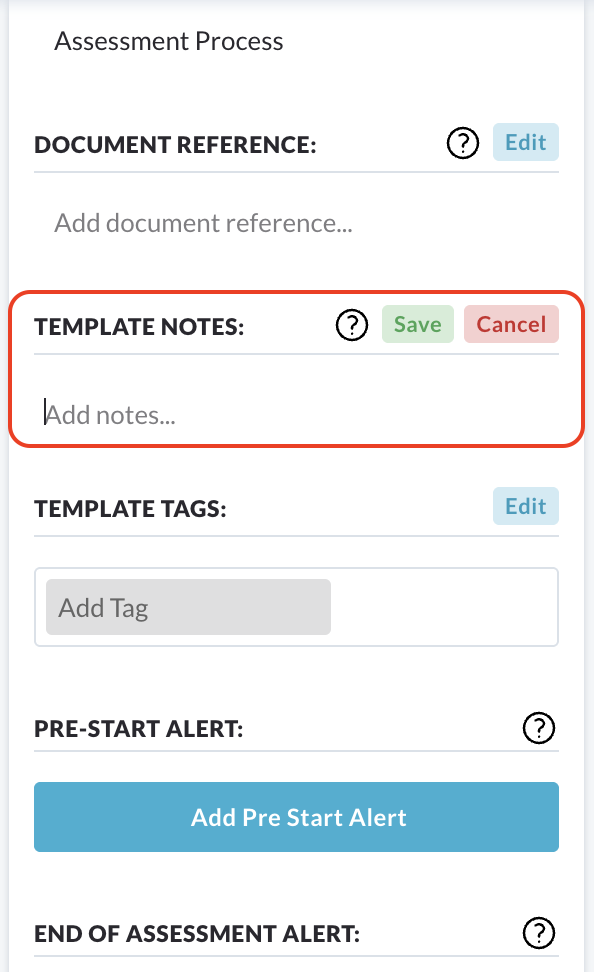
Click Save to apply your notes, or Cancel to remove the text box and discard your input.
Template Tags
Tags are valuable for enhancing filtering and reporting capabilities within the system, making your templates easier to find and categorise.
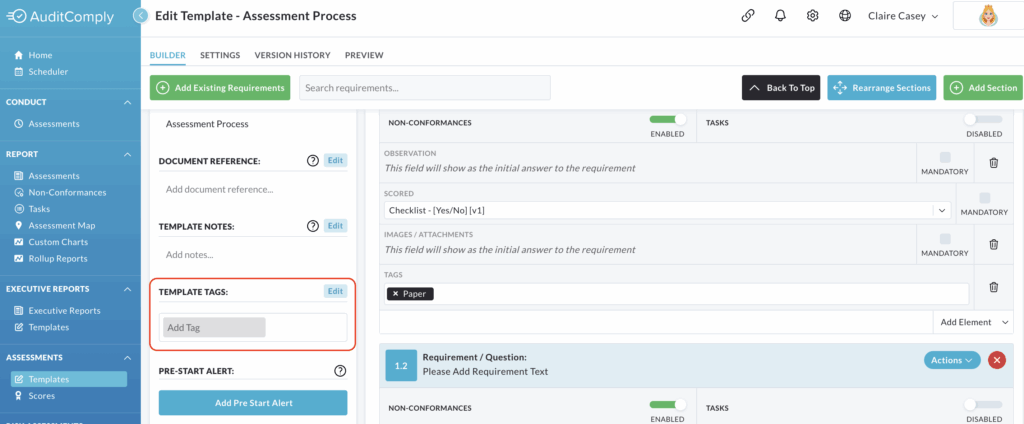
To add tags to your template, click Edit within this section.
After typing each tag, press Enter. This action will transform the typed tag into a ‘pill’ format within the text box, visually confirming its addition.

To remove a tag, simply click the X icon located inside its corresponding pill.
Once all desired tags have been added, click Save to apply these changes to your template.
Pre-Start Alert
A pre-start alert allows you to display a custom message to users immediately before they begin an assessment using this template.
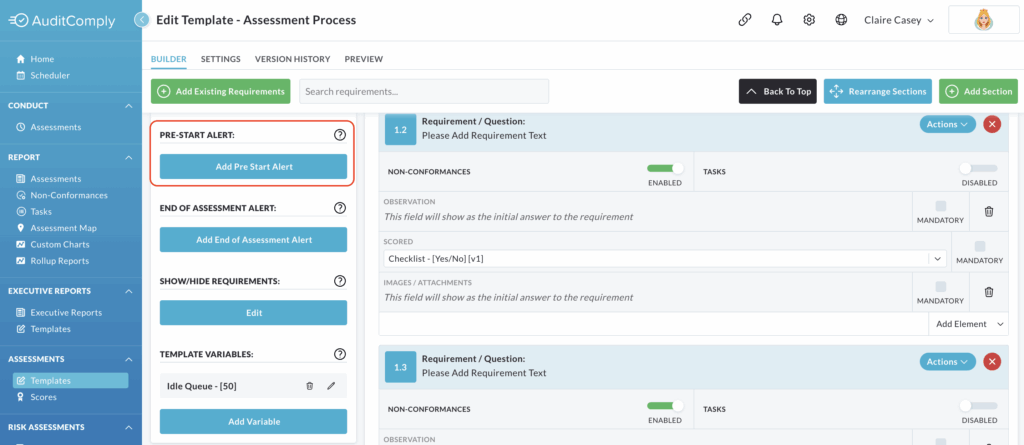
To add this alert, click Add Pre-Start Alert.
A pop up window will appear within the screen. In this box you will enter both a title for the alert and the main message content.
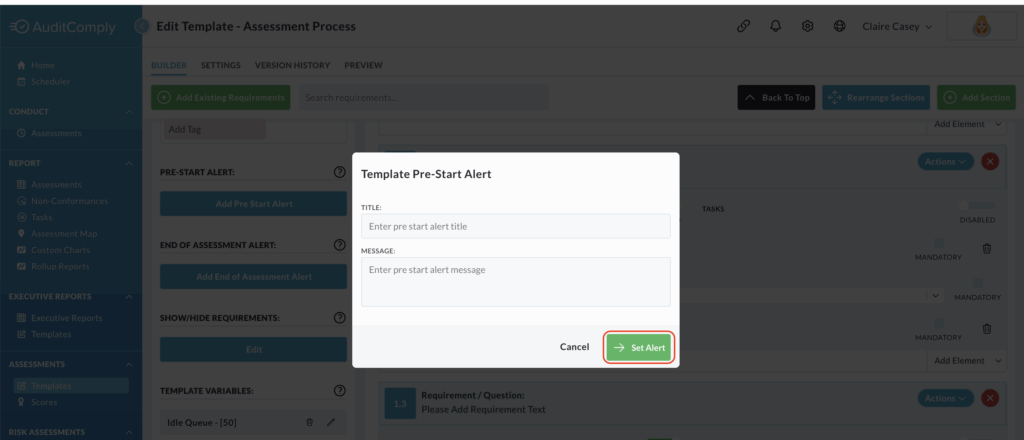
Once you have completed both fields, click Set Alert.
After a pre-start alert has been successfully added, the Add Pre-Start Alert button will change to Edit Pre-Start Alert, indicating that an alert is already configured.
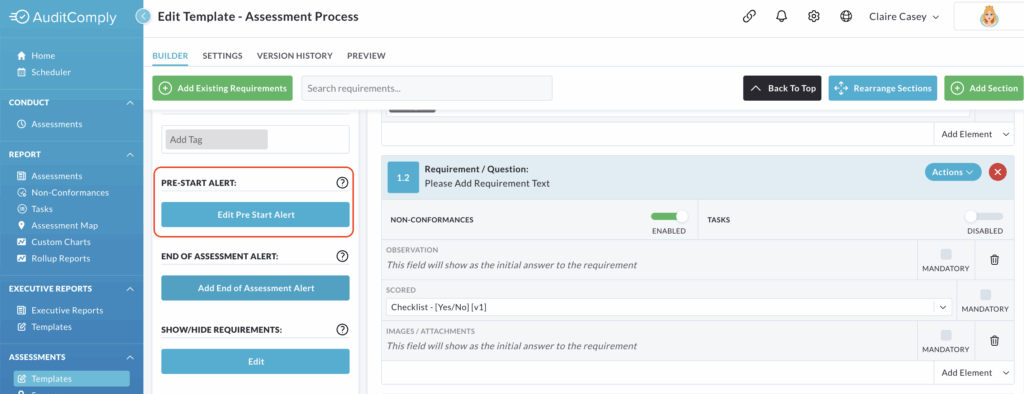
To remove an existing pre-start alert, click Edit Pre-Start Alert.
Then, delete all text from both the title and message text box, then click Save.
This action will remove the alert and revert the button back to Add Pre-Start Alert.
End of Assessment Alert
This feature allows you to configure a custom message that will be displayed to the user once they have completed an audit using this template.
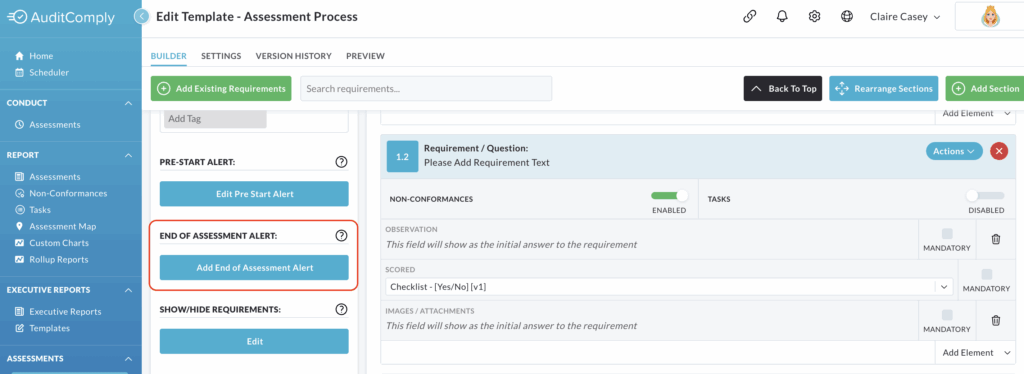
To add this alert, click Add End of Assessment Alert.
A pop up window will open within the screen.
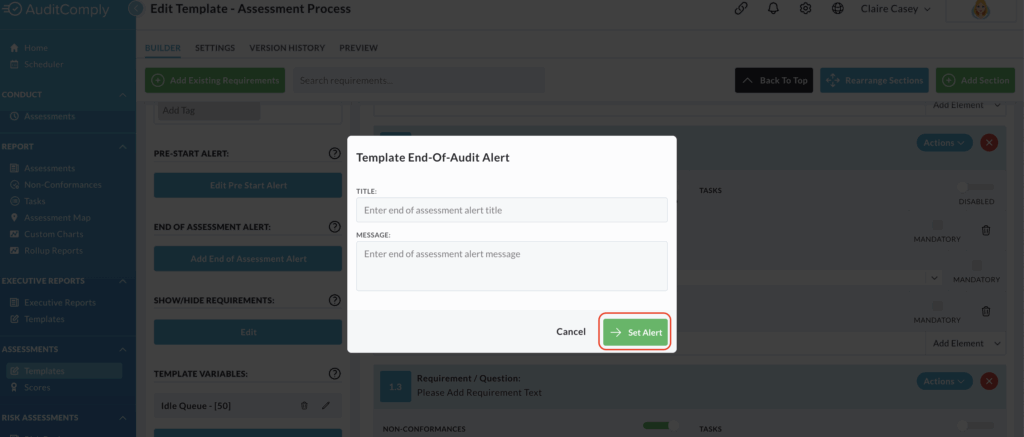
In this window, you can enter the title and main message content of your end-of-audit alert.
Once both fields are completed, click Set Alert to save your message.
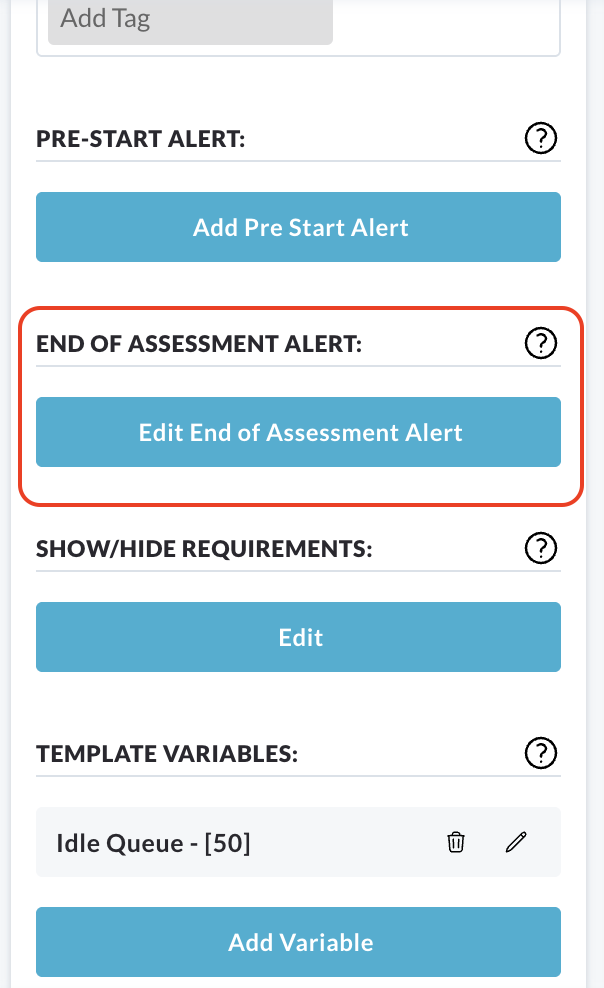
Once an alert has been set, the button on the menu will change from Add End of Assessment Alert to Edit End of Assessment Alert.
Clicking this button will reopen the pop up window, displaying your currently configured title and message.
From here, you can edit your current message by modifying the text in the title and message boxes.
After making changes, click Set Alert to save the updated message.
To remove an alert completely, click Edit End of Assessment Alert.
In the pop up window, delete all text from both the title and message boxes.
Click Set Alert.
This action will remove the alert and revert the button on the menu back to Add End of Assessment Alert.