To begin scheduling an assessment, click the Schedule Assessment button.

This button is accessible from four locations:
- The AuditComply Homepage
- The Scheduler section
- Within the Template list.
- Audit Analytics (within the Reports>Assessment page)
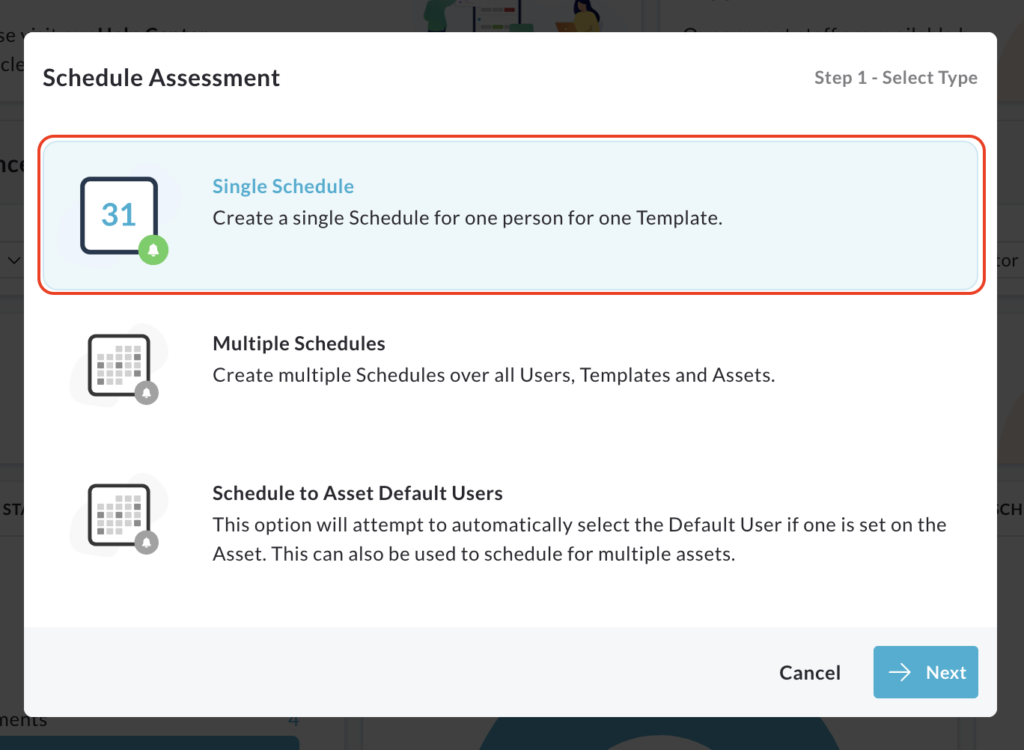
Clicking the button will open a pop up window that guides you through the scheduling process, with various options for scheduling assessments.
The following sections will detail the individual methods.
Single Schedule
Select Single Schedule and then click Next.
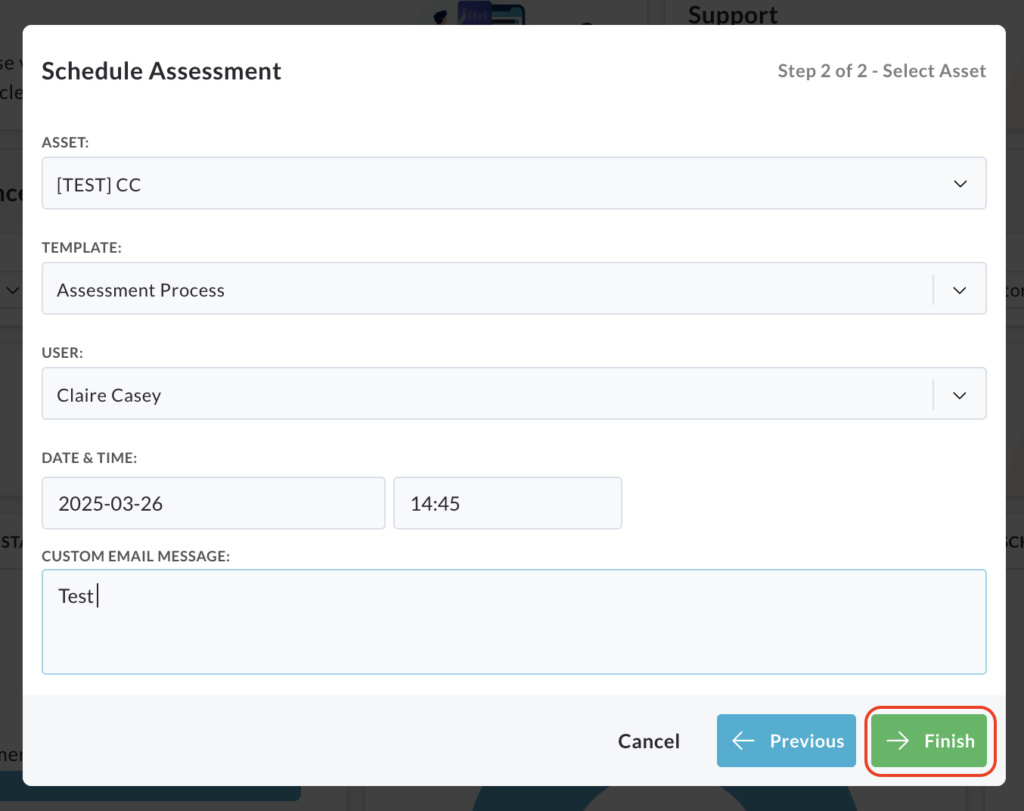
Choose the asset, template and user for the assessment.
Specify the desired date and time for completion.
Add a custom message if needed.
Click Finish.
A confirmation message will appear indicating successful scheduling.
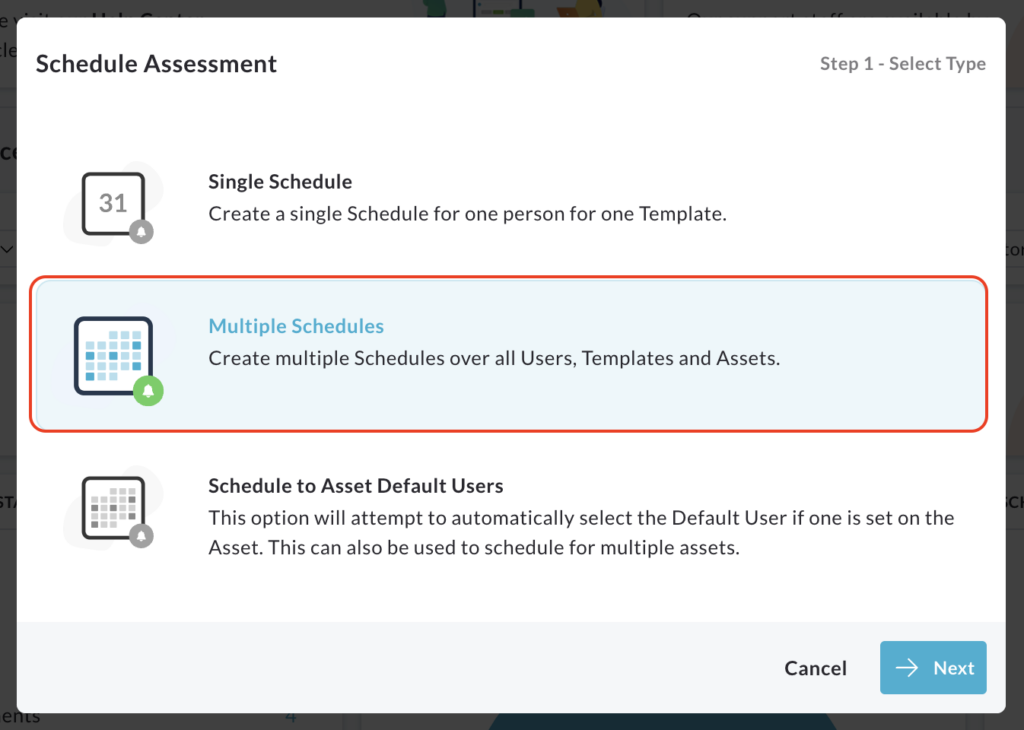
Multiple Schedules
Select Multiple Schedules and click Next.
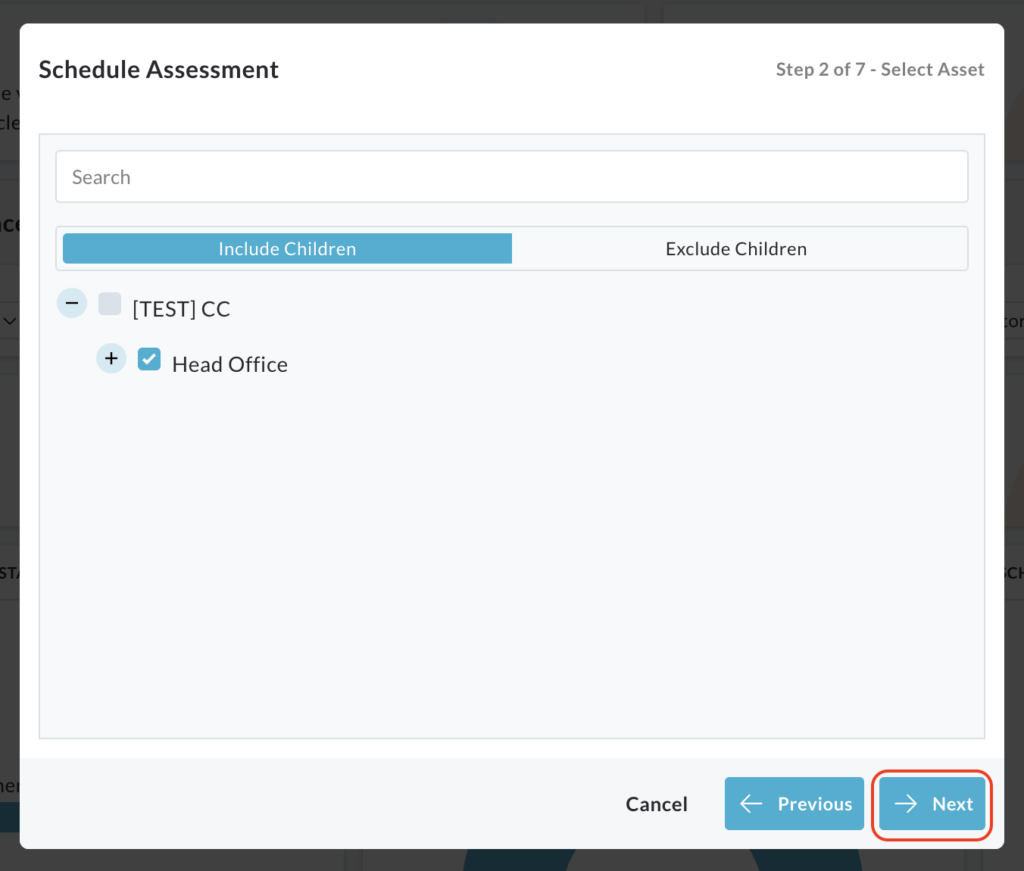
Choose the relevant asset and click Next.
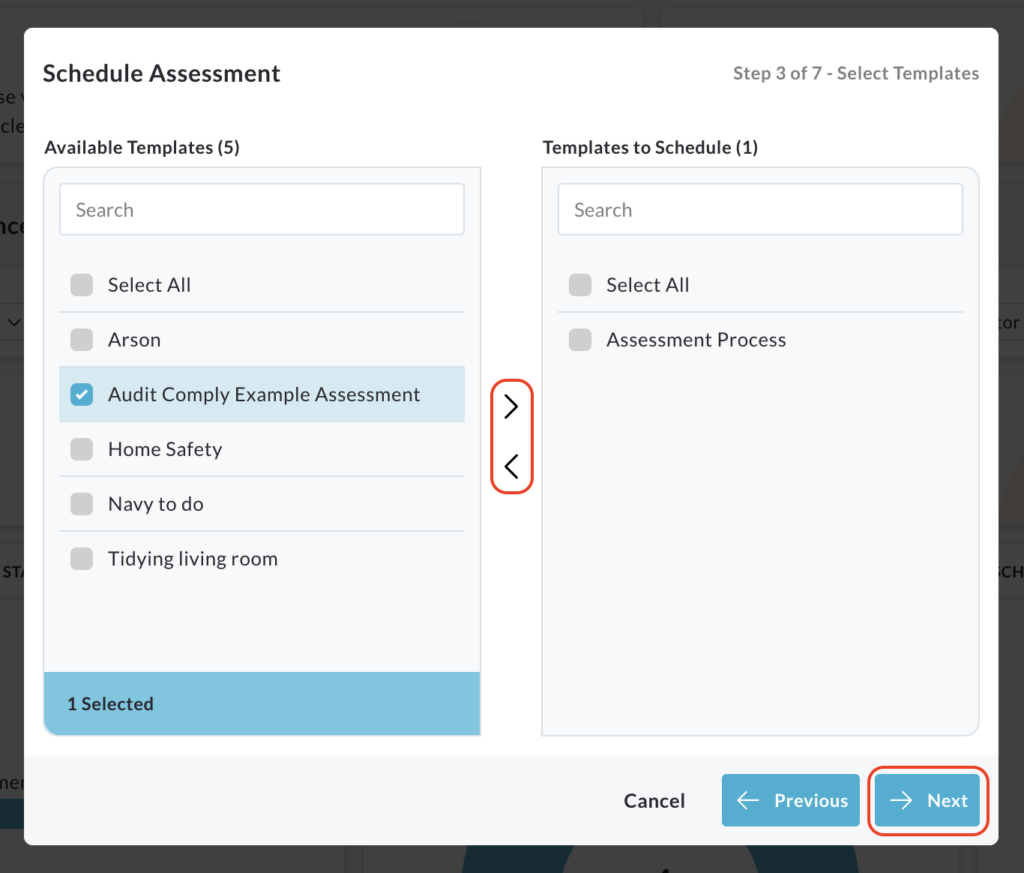
Select the templates to be scheduled.
Highlight the desired templates and move them to the Templates to Schedule column using the arrow button.
Click Next.
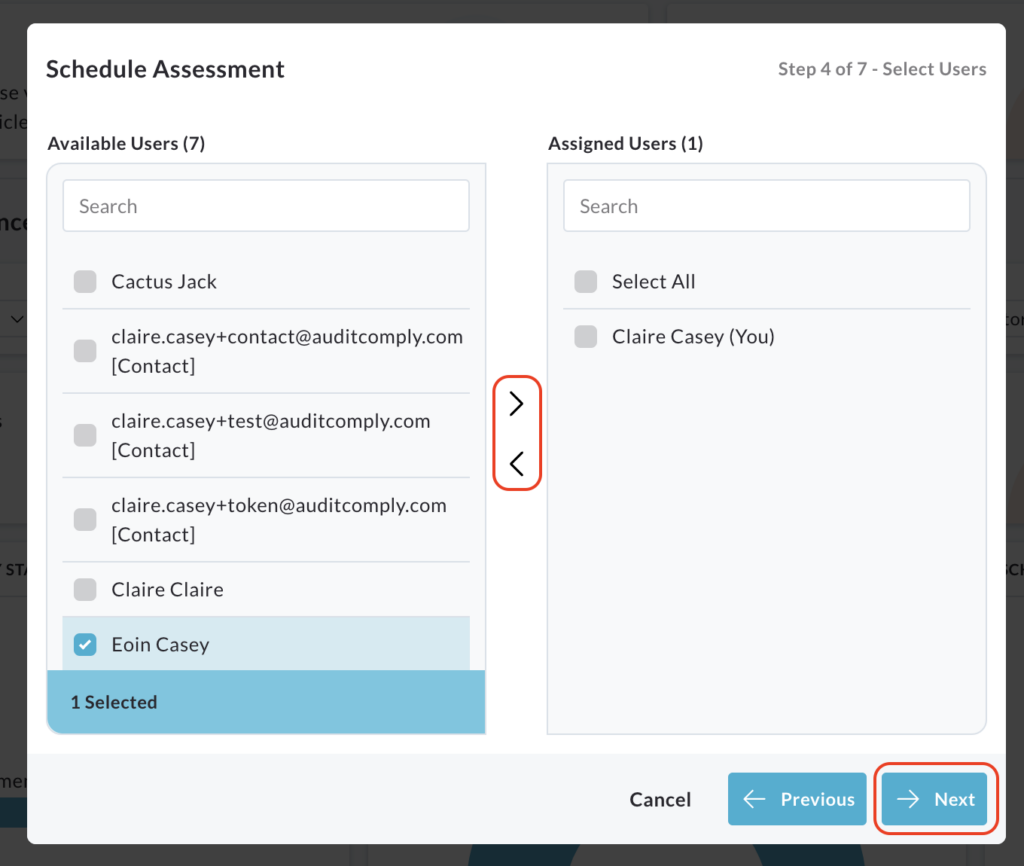
Select the users to assign the templates.
Highlight their names and move them to the Assigned Users column using the arrow button.
Click Next.
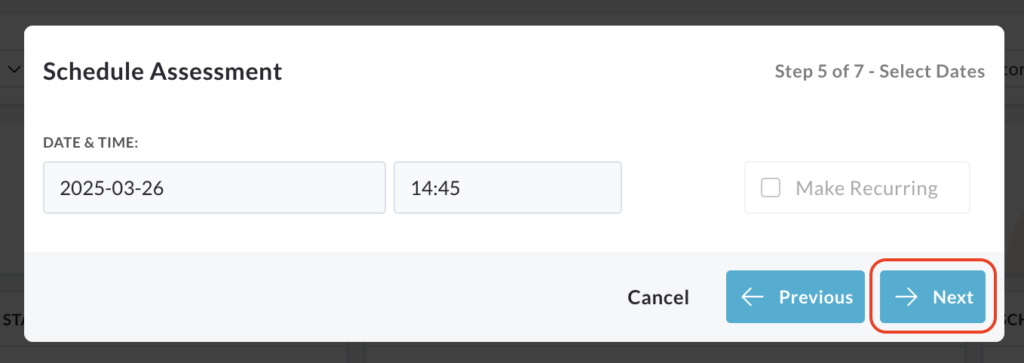
Specify the date and time for the assessments and click Next.
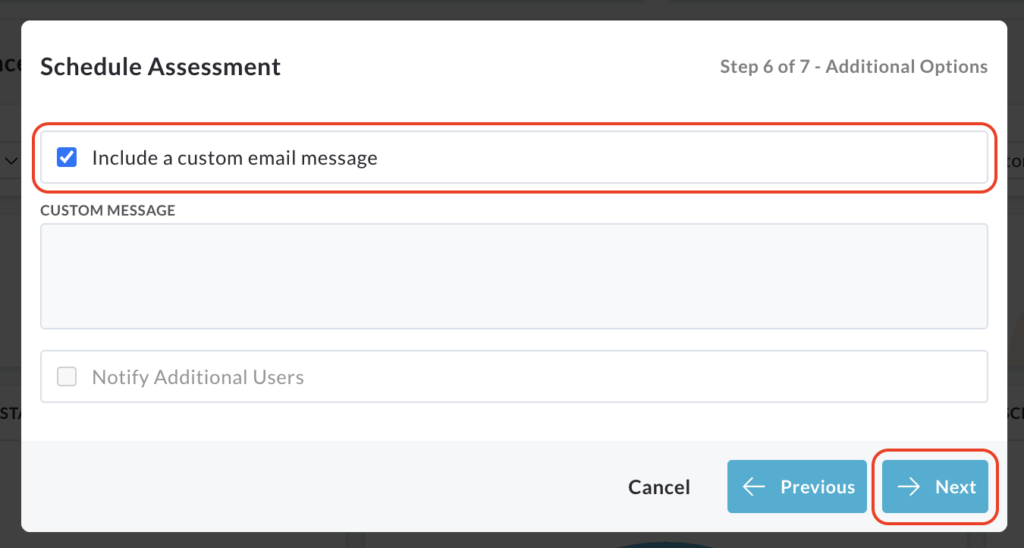
Check the box to add a custom message.
A text box will appear.
Click Next.
Review the summary of the scheduled assessment.
Click Finish.
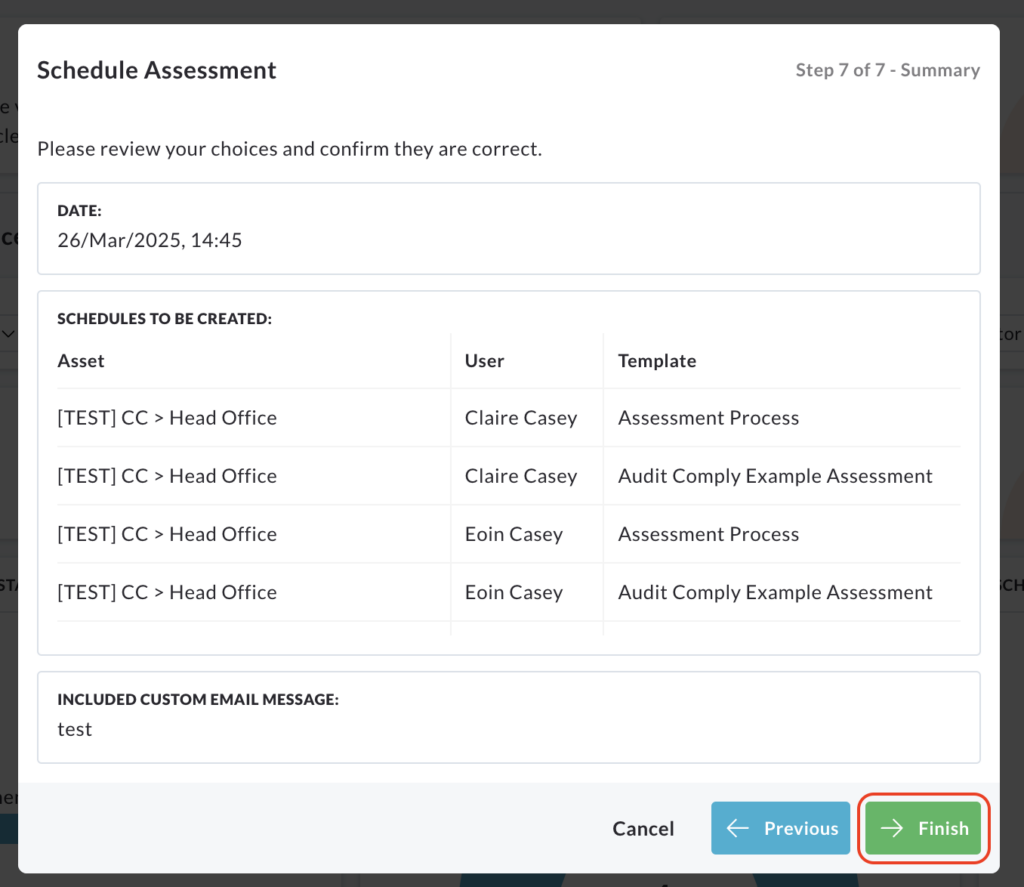
A pop up will confirm the successful scheduling of assessments.