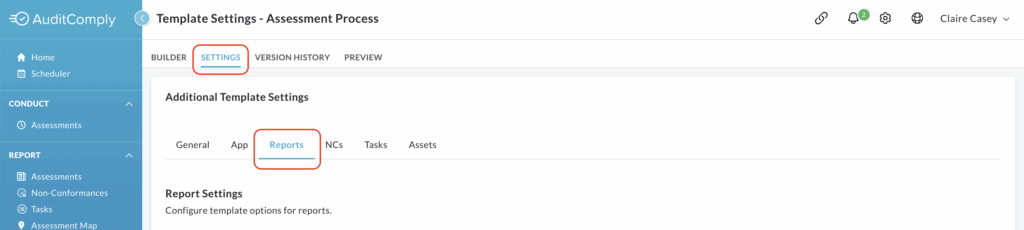
Here you will find several options to customise your template’s report settings.
By default, the two following settings are already enabled:
- Disable the scoring breakdown on the Completed Audit Summary and PDF report.
- Disable the Requirement Timestamps on the Completed Audit Report, Completed Audit Summary and PDF.
To add more options, simply click on the box next to the ones you want. If you want to remove an option, including the preselected ones, uncheck its box.
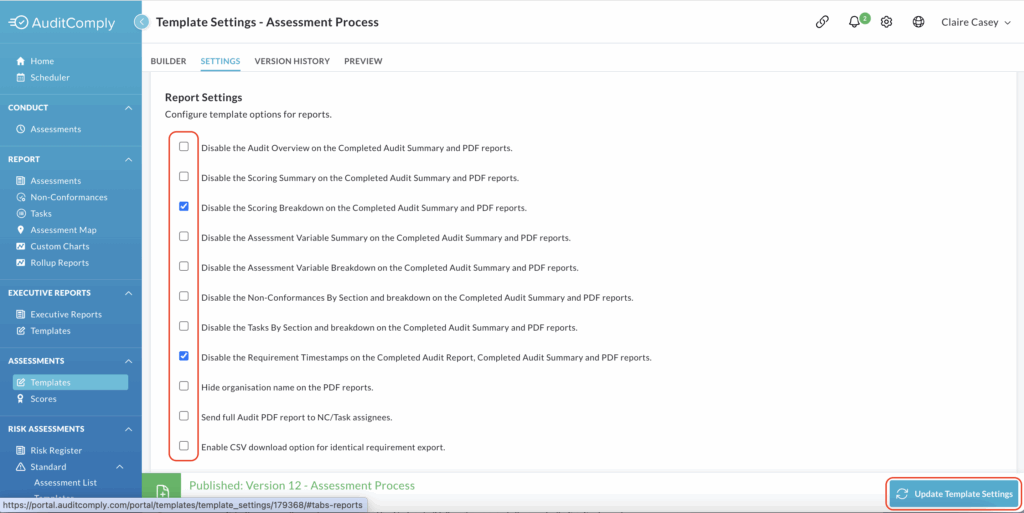
Remember to click Update Template Settings to save any changes you make.
Asset Tree Level Display
This setting allows you to control how many levels of your asset tree are shown in the ‘General’ section of a completed PDF report.
To activate this feature, check the box labeled Set Asset Display Level.
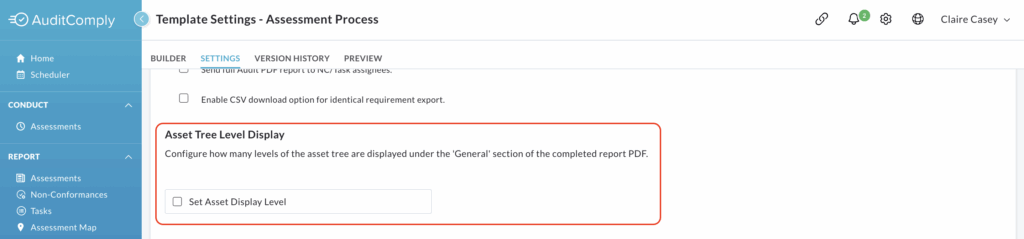
Once checked, a numerical text box will appear, where you can enter a value between 0 and 10 to define how many levels of the asset tree will be displayed.

To save your selection, click Update Template Settings.
Users Receiving Reports
This setting allows you to customise which users receive audit reports, based on either the overall audit grade or the presence of non-conformances or tasks.
This configuration take precedence over the system’s default audit reporting system.
To begin setting up your criteria, click Configure Users to receive Audit Reports.
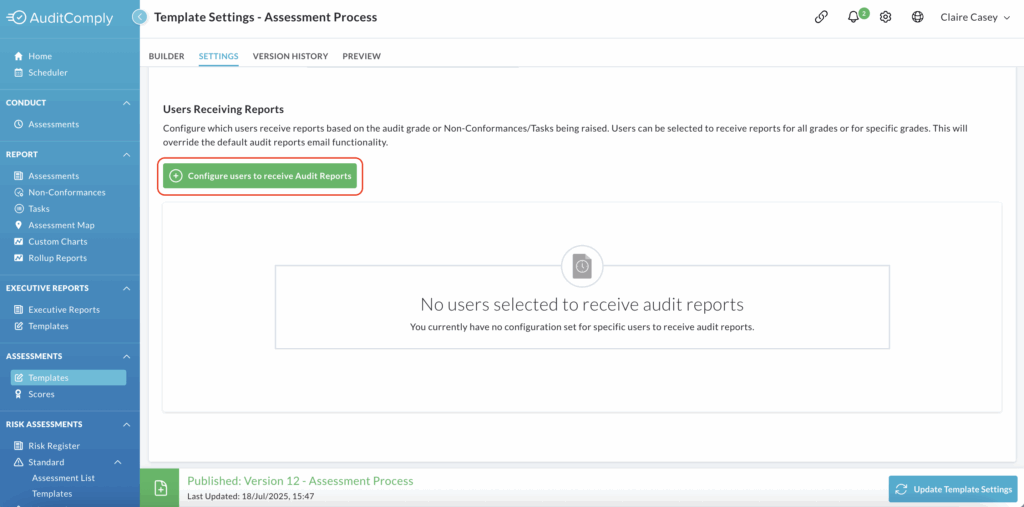
A pop up window will then guide you through the process.
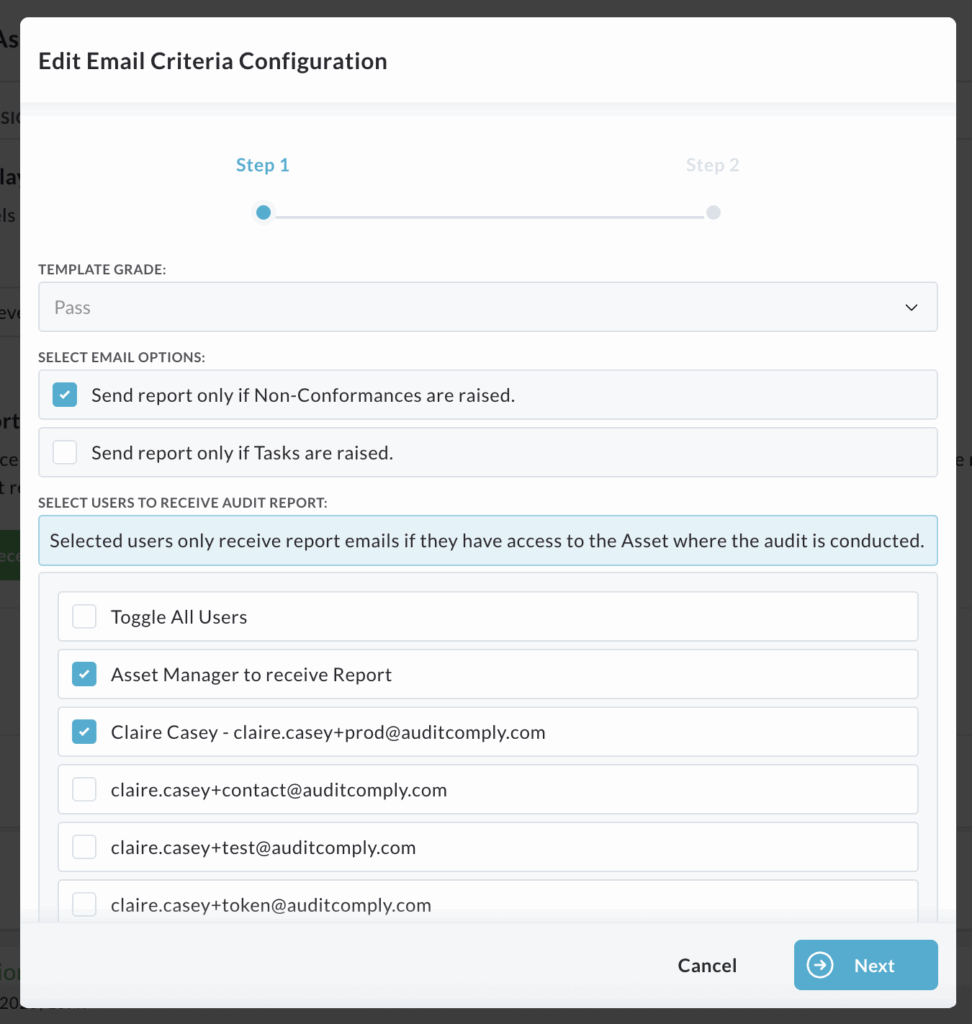
Step 1: Define Criteria
In the first step of the pop up:
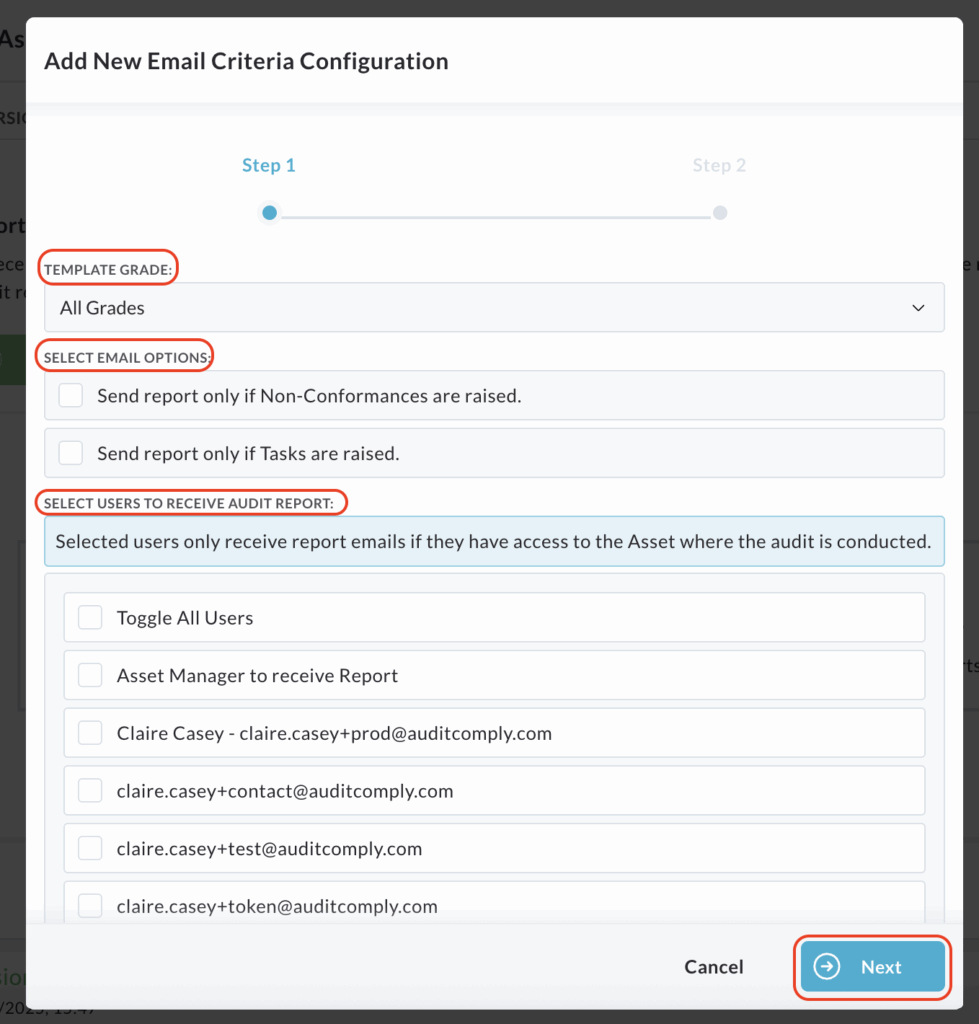
Select the template grade for which you want the email notifications to apply (e.g. If you only want reports sent for audits graded Fail).
Select the required email options by checking the corresponding boxes. These options dictate what triggers the report.
Select the users you want to receive this specific report type.
Click Next to proceed.
Step 2: Confirm Users
In the second step you will be again asked to select the users who should receive the report based on your criteria from Step 1.
Check the boxes next to their names.

Click Finish.
Review and Add More Configurations
Once completed, a table displaying your configured report information will appear in the Users Receiving Reports section.
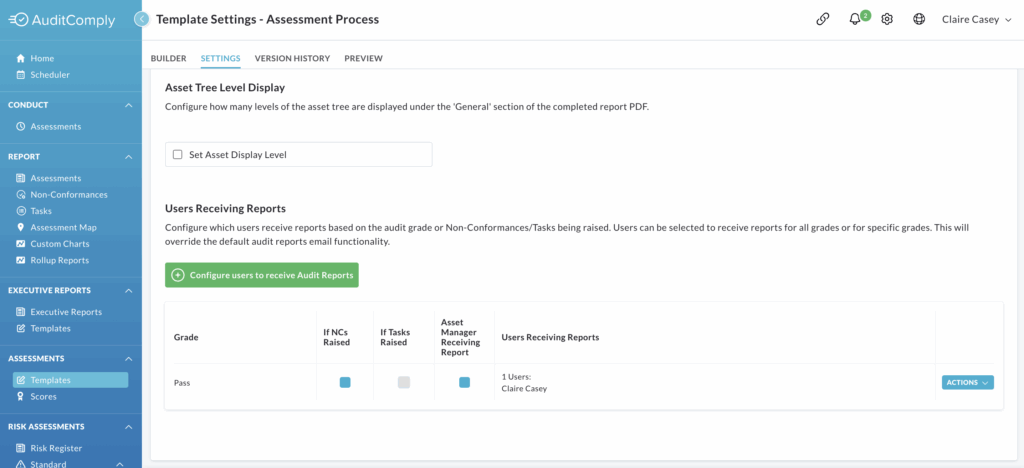
You can add different variations of email configurations for this template by clicking Configure users to receive Audit Reports again and repeating the steps above.
This allows you to set up distinct reporting rules for various grades and specific triggers.
Actions Button
Each email configuration entry in the table will have an Actions button, allowing you to modify or remove specific report setups.

Edit
To make changes to an existing email configuration, click Actions for the desired configuration.
From the dropdown menu, select Edit.
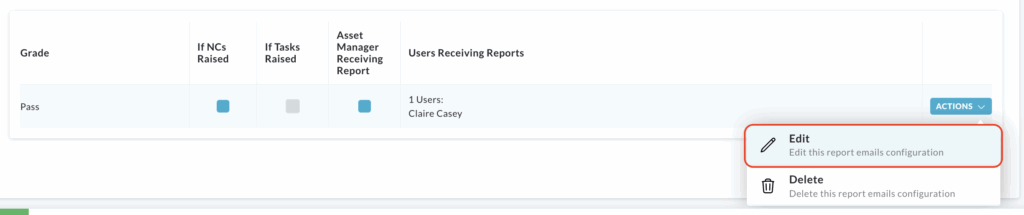
A pop up window will appear, pre-filled with the current settings.
You can then follow Step 1 and Step 2 of the Configure users to receive Audit Reports process (as previously described) to make the necessary amendments to the template grade, email options and user selections.
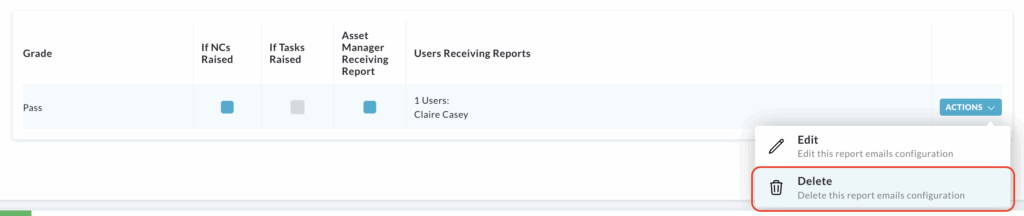
Delete
To remove an email configuration from the table, click Actions for the relevant configuration.
From the dropdown menu, select Delete.
A pop up window will open, asking you to confirm you are sure you want to delete this email configuration.
Click Delete to confirm the removal.
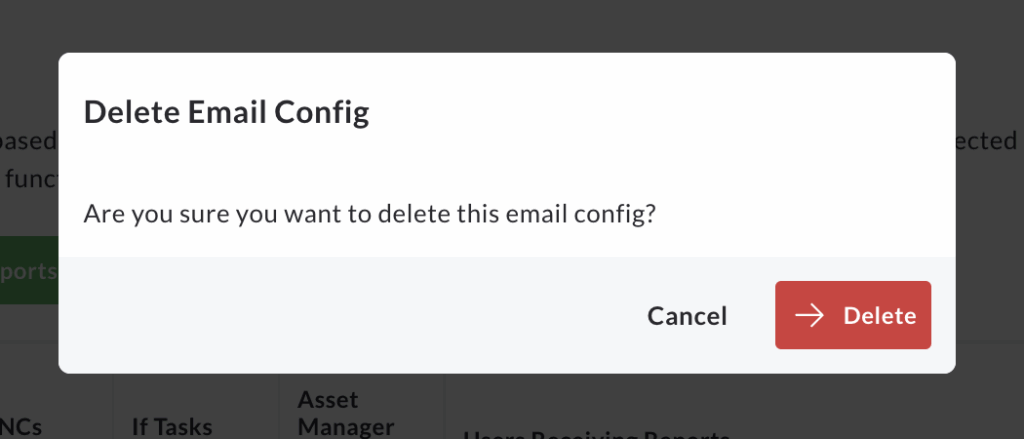
The configuration will then be permanently deleted from the table.