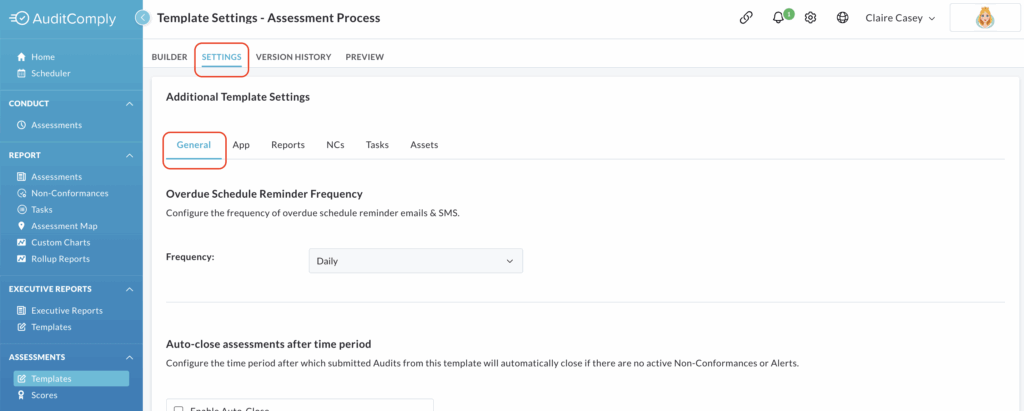
This section covers general settings that apply to the template, influencing how audits behave when being completed, on completion or when they become overdue.
To locate general settings within the template builder page, click the Settings tab. General settings are displayed here.
Saving Changes
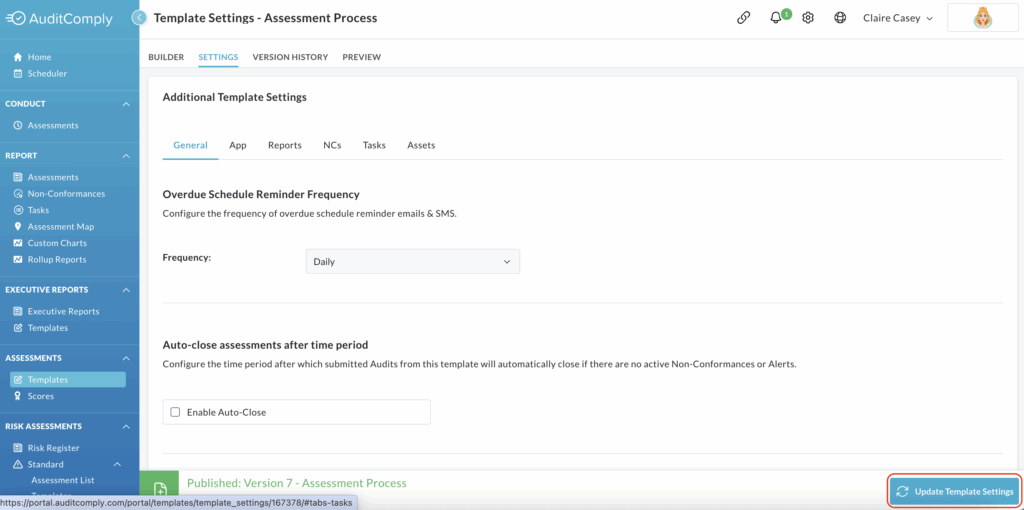
It is crucial to note that for any modifications made within any section under Additional Template Settings you must click the Update Template Settings button, located at the bottom right-hand side of the screen, to save your changes.
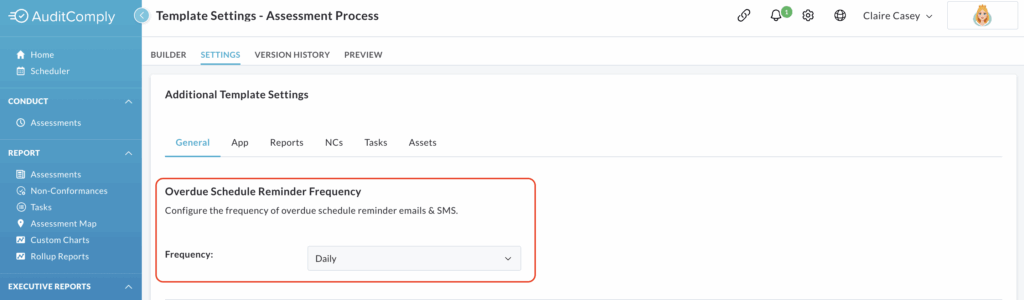
Overdue Schedule Reminder Frequency
This setting allows you to configure how often SMS messages and reminder emails are sent for an audit that has become overdue.
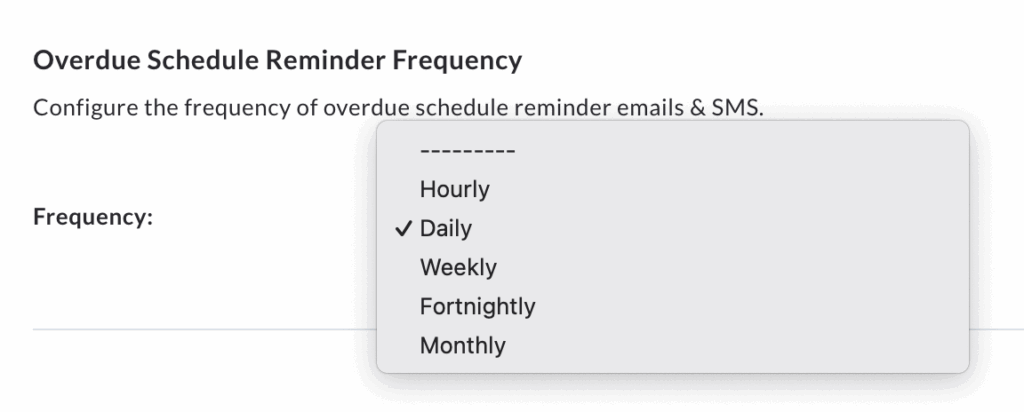
Click the dropdown menu to select your desired frequency from the following options:
- Hourly
- Daily
- Weekly
- Fortnightly
- Monthly
Remember to click Update Template Settings to save your selections.
Auto-Close Assessments After Time Period
This feature provides automation for closing completed audits based on a set time period, provided specific conditions are met.
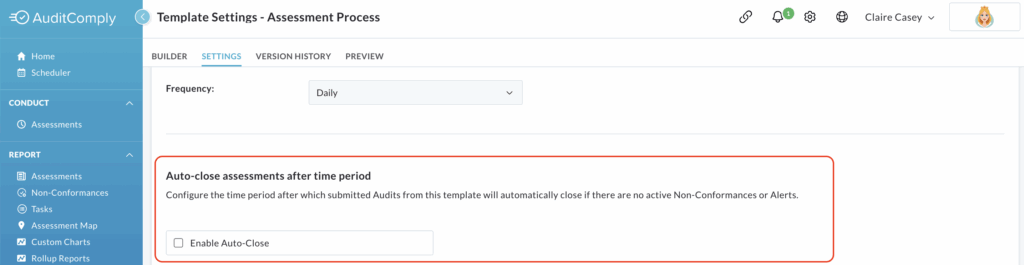
Check the box next to Enable Auto-Close.
Upon enabling, a text box will appear.
Here, you need to insert the number of days that must pass following the completion of an audit before it is automatically closed.
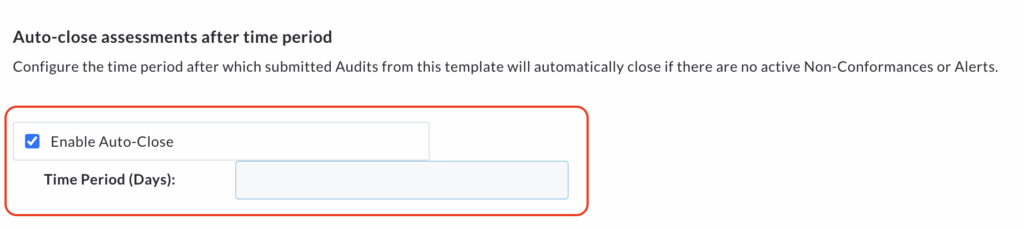
An audit will only be auto-closed if there are no active (open or in-review) non-conformances or alerts associated with it.
Click Update Template Settings to save this auto-close configuration.
Ignore Empty Requirements
This setting directly impacts how incomplete requirements are handled throughout the system.

When this setting is enabled, this system will disregard (effectively ignore) and requirements that have been left blank or not filled in during an audit. This applies even to requirements that were marked as mandatory.
For any exported PDF or CSV reports generated from audits using this template, only the data from completed requirements will be displayed. Empty requirements will be omitted from the output.
Any grading or scoring calculations performed based on the audit results will only utilise data from requirements that have been completed. Empty requirements will not factor into these calculations.
It is important to note that once this setting is enabled, .
The system will not display any warnings or notifications if requirements are left incomplete during an audit. Users will not be prompted to fill in missed requirements.
To enable, check the box next to Ignore Empty Requirements.
Click Update Template Settings to apply this change to your template.
Hide Requirement Numbers
This setting controls the visibility of requirement numbering in both the audit interface and generated reports.
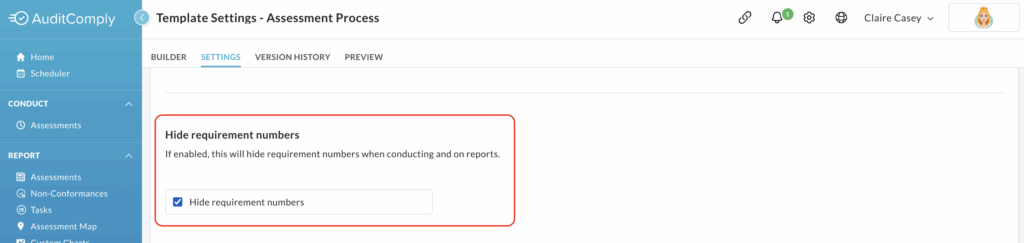
Enabling this setting will hide numerical labels or numbering associated with the requirements when users are completing audits associated with this template, as well as any reports generated from those audits.
To enable, check the box next to Hide Requirement Numbers
Click Update Template Settings to apply this change to your template.
Custom Template Edit Access
This setting provides you with control over who can modify your template, allowing you to restrict edit access to specific users.
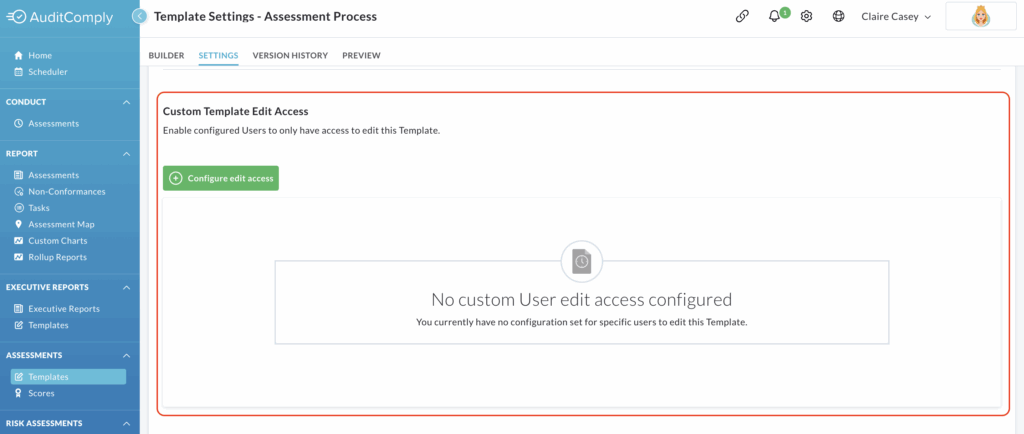
To begin adding or removing users, click Configure Edit Access.
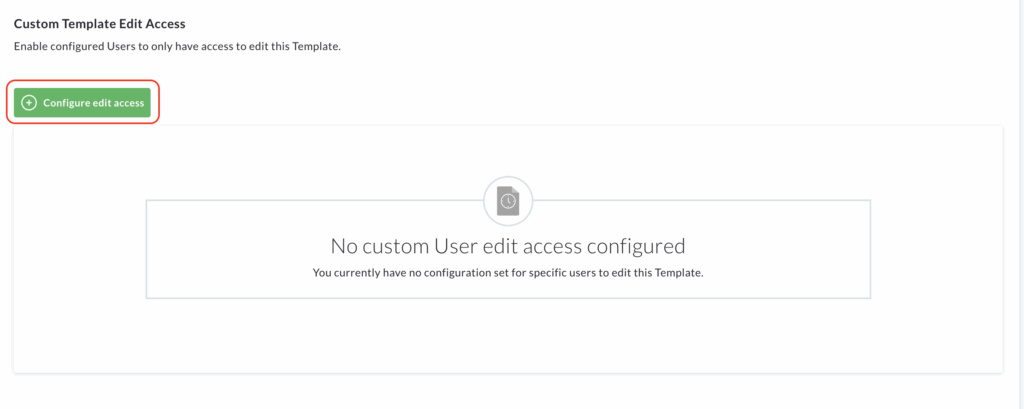
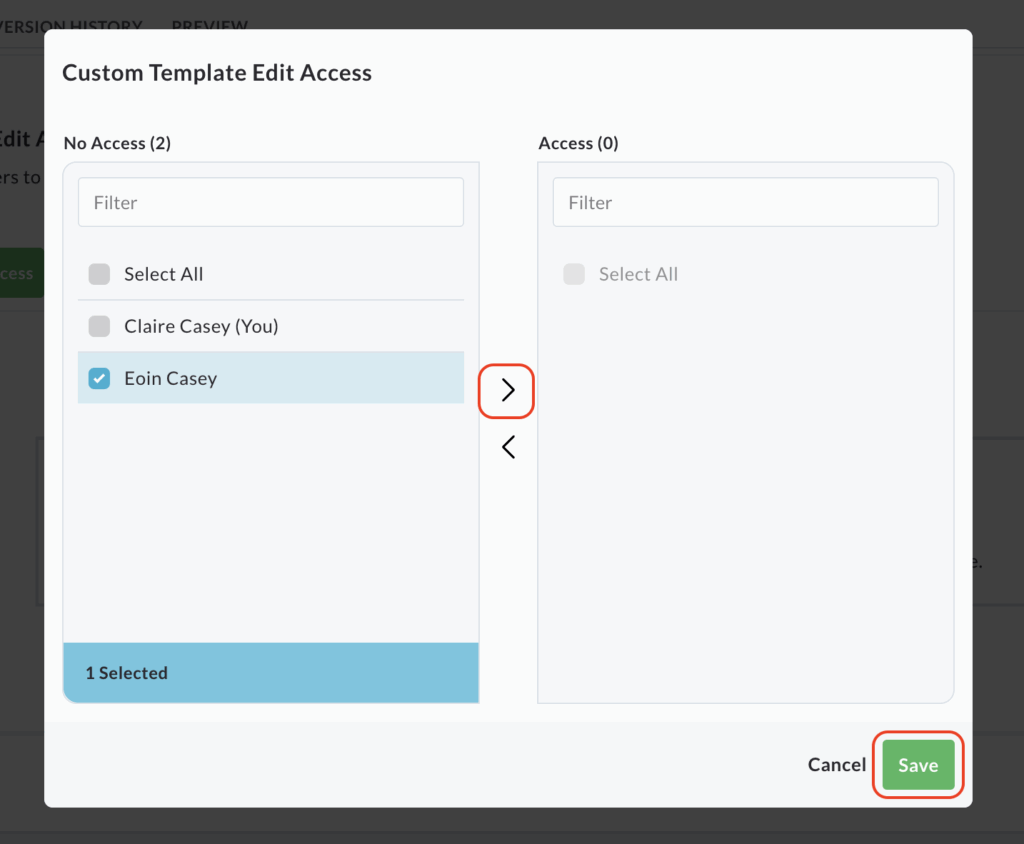
A pop up window will appear, presenting a list of all available users in the left column.
Select the user(s) you wish to grant edit access to by checking their name(s). Then, click the arrow in the centre pointing to the right to move the selected user(s) into the Access column.
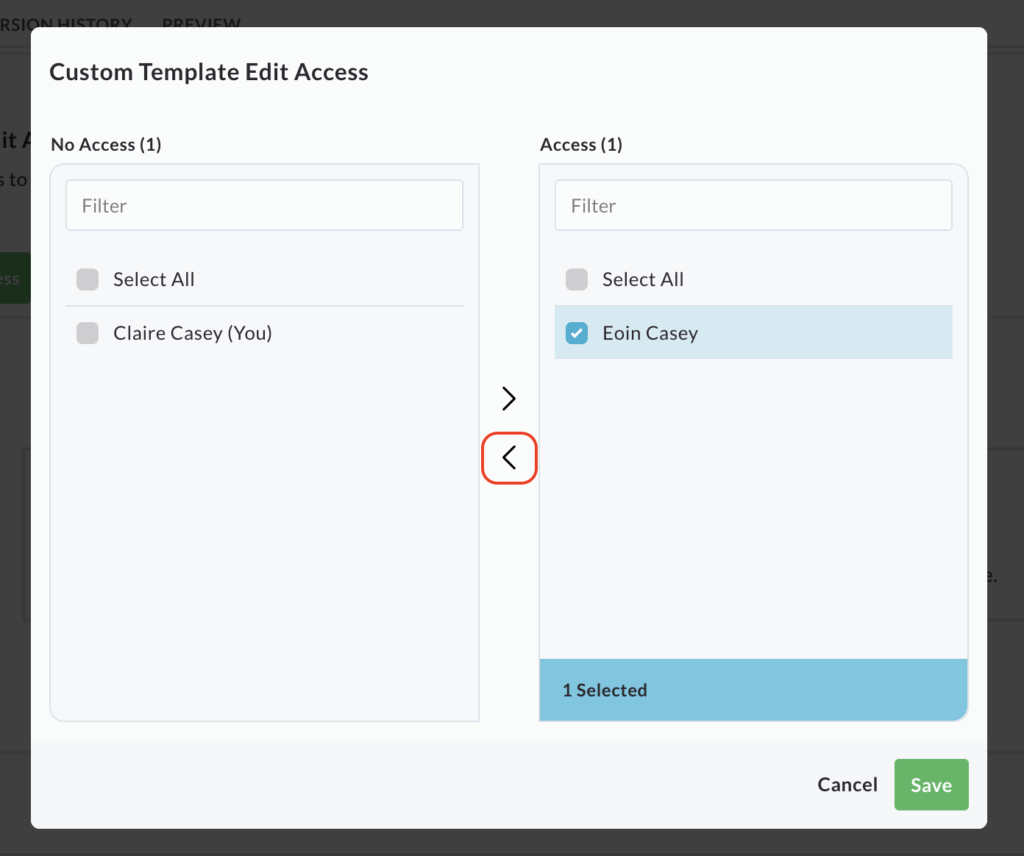
If a user was added in error, or you wish to remove their access before saving, check the user’s name in the Access column and click the arrow pointing to the No Access list (left arrow) to move them back.
Once you have configured the list of users with edit access as desired, click Save within the pop up window.
Managing Access from the Display Table – Removing Access.
After saving, a table will appear within the General Settings page, displaying all the users who currently have edit access to the template.
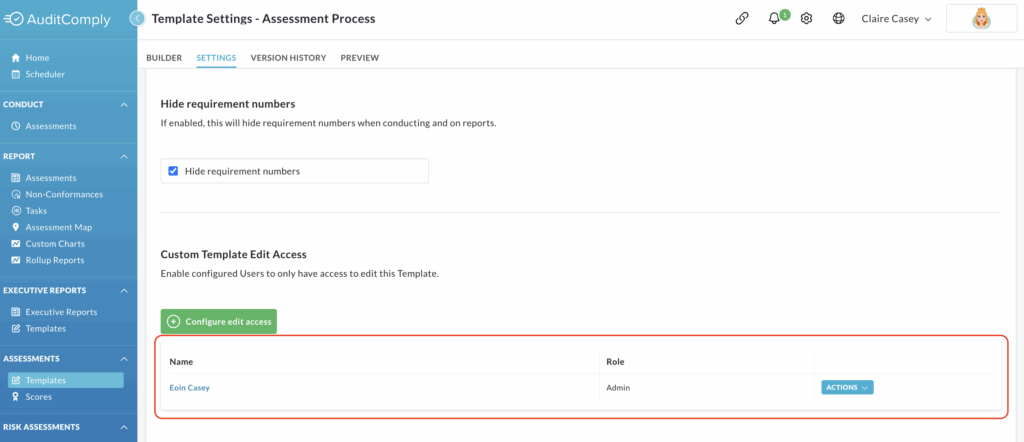
Each user row within this table has an Actions button.
A dropdown menu will appear; click Remove.

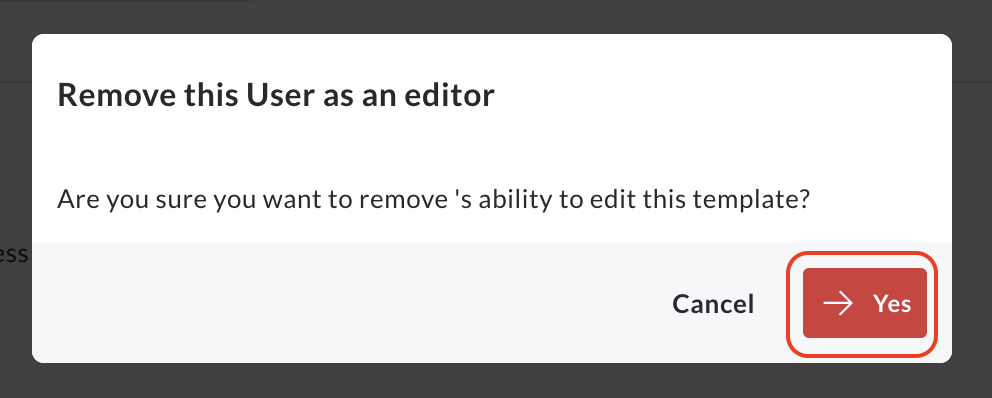
A confirmation pop up will appear, asking you to confirm if you want to remove the users ability to edit this template.
Click Yes to confirm.
After making any changes to the Custom Template Edit Access (either by adding/ removing users via the pop up and saving, or by removing users directly from the displayed table), you must click Update Template Settings at the bottom right of the screen to save these changes permanently to the template.