Here you can begin to build your template by adding requirements and questions.
Click the Add a Section button.
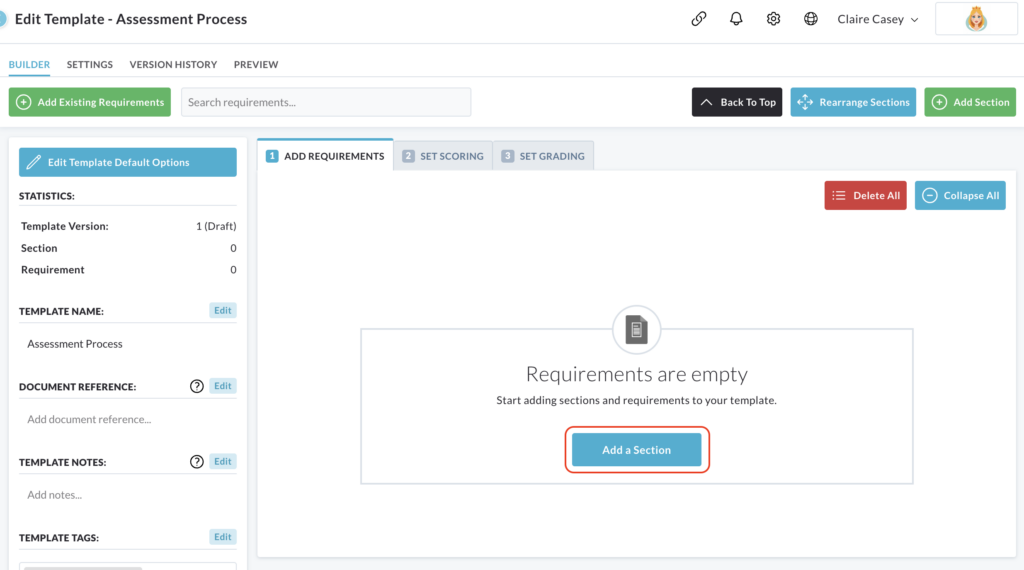
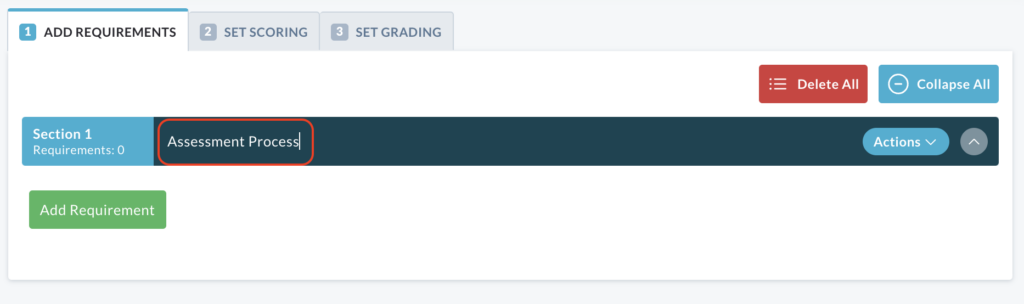
This creates a container for your related requirements, starting with Section 1.
Think of sections folders that help you organize your related questions or requirements.
For example, you might have a section for ‘Employee Information’, another for ‘Safety Procedures’, and so on.
After creating a section, you’ll see a text box next to next to the section title (e.g. Section 1). Here you will enter a short, clear title for that section. Instead of just ‘Question 1’, use something descriptive like ‘Safety Equipment Check’ or ‘Employee Personal Details’. This makes your template easier to understand.
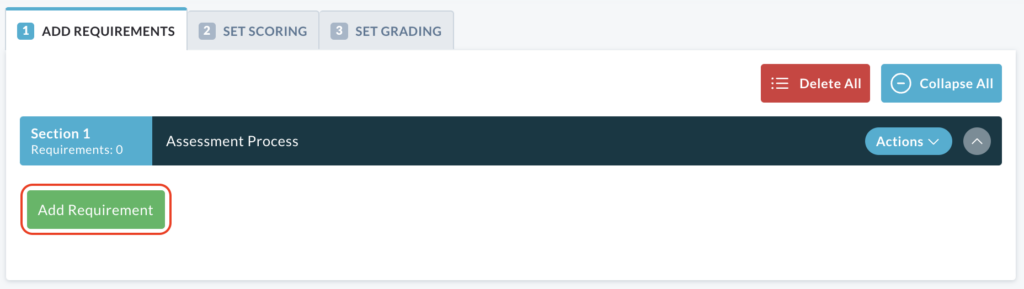
Once you have entered your title, click the Add Requirement button.
This will expand the section, giving you space to write out the full question, instruction or detailed requirement.
This is where you provide all the necessary information. Be precise and use clear language to avoid any confusion.
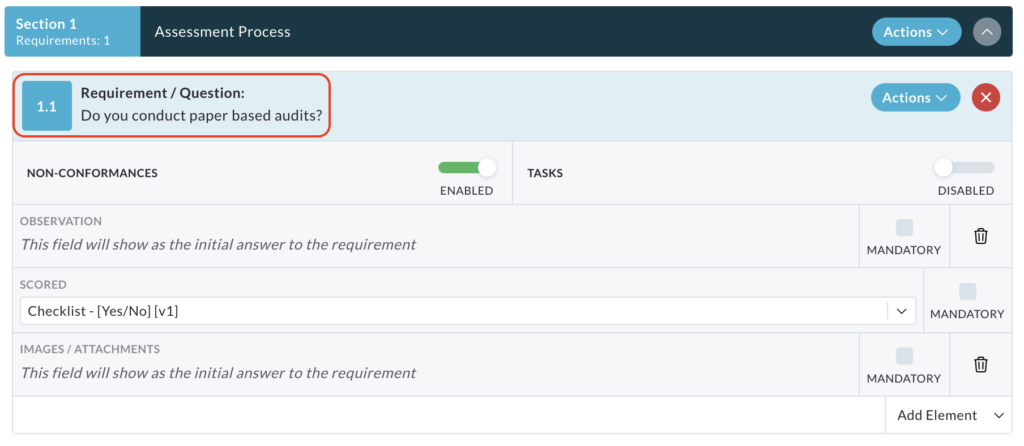
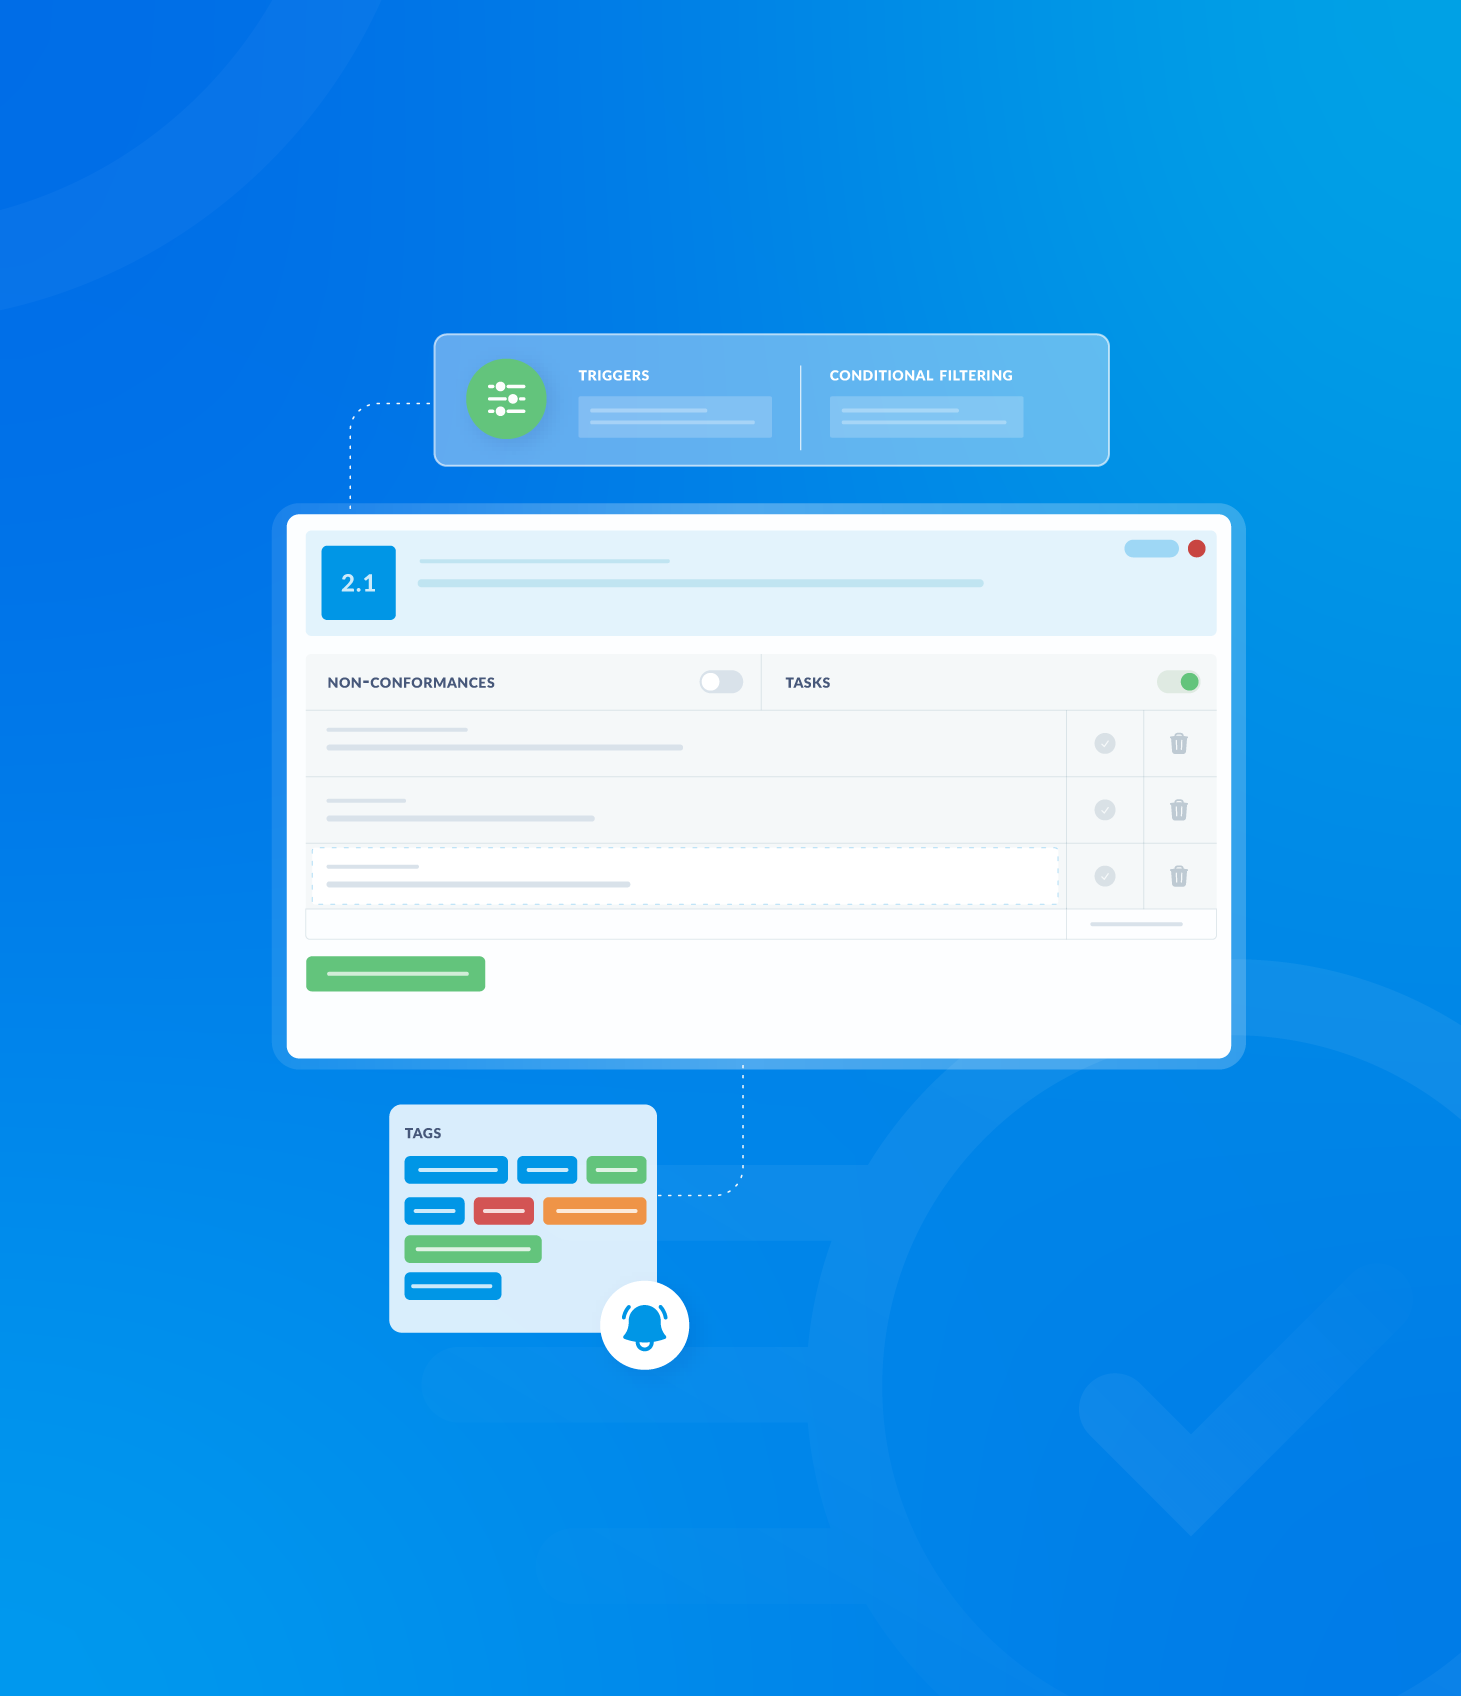
After creating a requirement, you need to specify whether it will utilise Non-Conformances or Tasks.
Non-Conformances are automatically activated for every requirement/question by default.
Tasks, on the other hand, are disabled by default and must be explicitly enabled if you want to use them.

The Observation section within the template builder allows assessors to record any observations related to a specific requirement.
This provides a space for assessors to add context, explain their findings or note anything relevant that might not be captured by the requirement itself.

Two options are available for managing the Observation section:
- Mandatory Observations: Checking the box at the end of the row makes the Observation field mandatory. This ensures that assessors provide an observation for each requirement.
- Removing Observations: Clicking the bin icon at the end of the row completely removes the Observation section from the requirement. This means assessors will not have the option to add observations for that particular requirement.

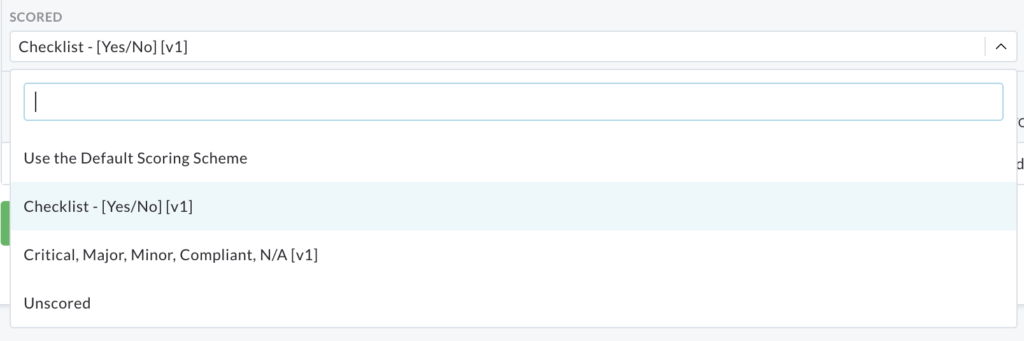
The next step is to define the Scoring Scheme for the requirement.
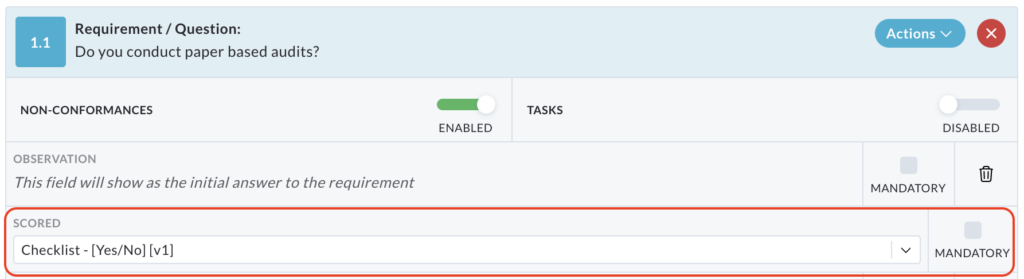
A dropdown menu provides several options:
- Use Default Scoring Scheme: This option applies to the pre-defined scoring system configured for the template or audit type.
- Checklist [Yes/No]: This option allows for a simple yes/no or pass/fail evaluation of the requirement.
- Critical, Major, Minor, Compliant, N/A: This option provides a more granular scoring system, allowing for classification of non-conformances based on severity.
- Unscored: This option indicates that the requirement will not be scored. This might be used for informational purposes or where a simple observation is sufficient.
In addition to choosing the scoring scheme, you can make the scoring of the requirement mandatory by checking the box at the end of the Scored row.

This ensures that assessors provide a score or evaluation for each requirement.
Images and attachments are automatically enabled for each requirement.
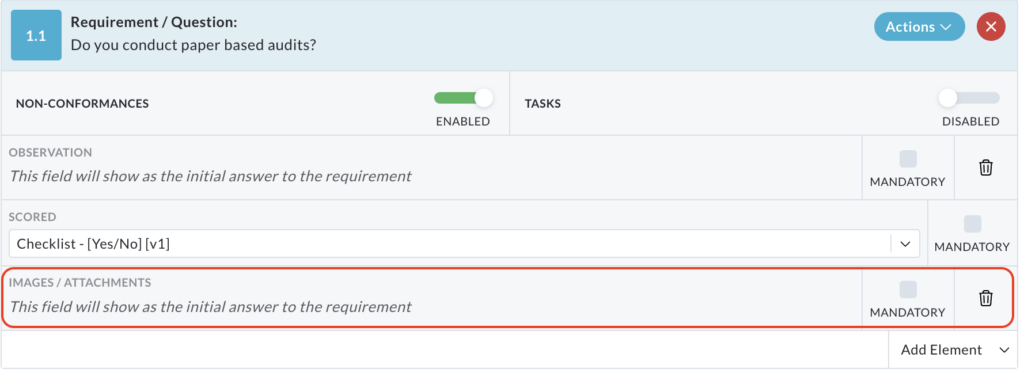
You have the following options for managing them:
- Mandatory Images/Attachments: To require assessors to include an image or attachment with the response to the requirement, check the Mandatory box at the end of the row.
- Removing Images/Attachments: to completely remove the option for assessors to add images or attachments to a requirement, click the bin icon at the end of the row.

After completing your initial requirement, you can continue building your template by adding more requirements and sections.
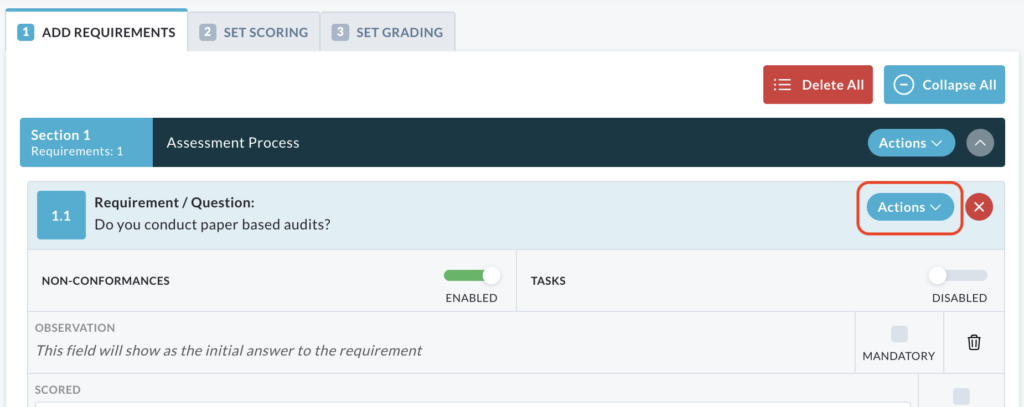
To quickly create similar requirements within a section, or even in another section, use the Copy Requirement feature.
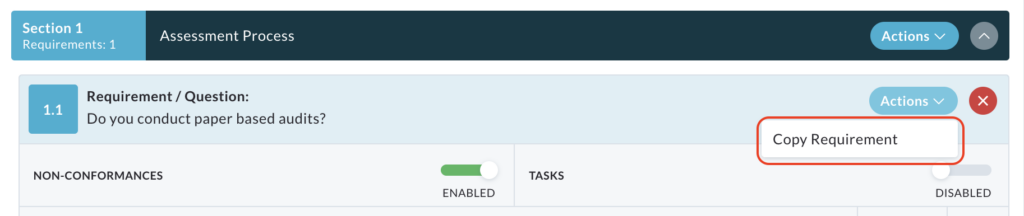
Click on the Action button located on the row of the requirement you wish to copy. This will open a dropdown menu.
Choose the Copy Requirement option from the dropdown menu.
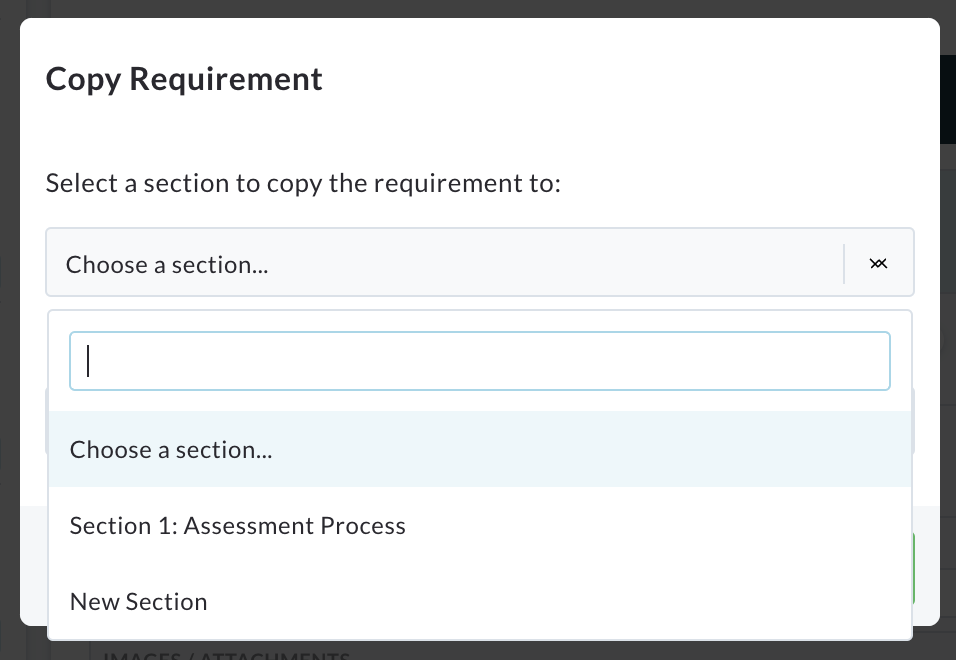
A pop-up window will appear, allowing you to choose where you want to copy the requirement:
- Current Section: Copies the requirement within the same section.
- Another Section: Copies the requirement to a different, existing section.
- New Section: Creates a new section and copies the requirement into it.
In the same pop-up window, you’ll also be asked to specify how many copies of the requirement you want to create.
Click the Copy Requirement button to complete the process.
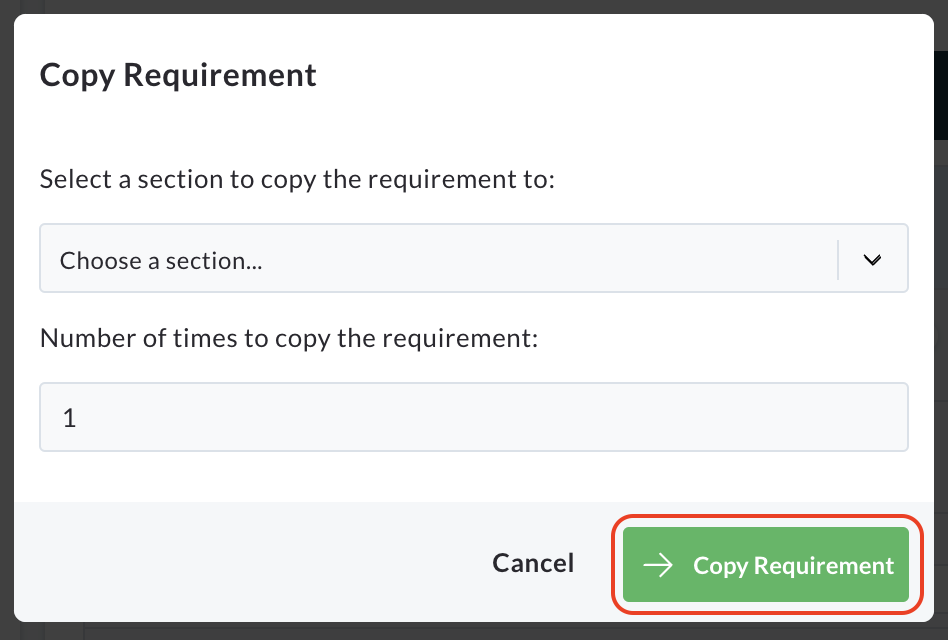
The copied requirements will now be in your chosen location(s).
You can then edit each copy as needed to make any necessary changes or adjustments. This saves time and ensures consistency when creating similar requirements.